Serial Number Assignment
- You must assign serial numbers whenever you receive items under serial number control into inventory.
- If an item is under Predefined control-> We can choose from the list of predefined serial numbers for that item.
- If an item is under Dynamic entry At inventory receipt -> We can choose from a predefined list of serial numbers or enter any serial number, depending on the uniqueness control for your organization. You can create and assign serial numbers individually or as a range to speed up data entry.
- If your Item is under Dynamic entry At sales order issue -> We can only assign serial numbers when we perform a shipment transaction in Oracle Order Entry/Shipping.
- Once Serial number is assigned to an item, the combination of the serial number and the Item is an entity known as a Serialized unit. From that point on, Oracle Inventory tracks all movements and maintains the following information for each serialized unit:
- Receipt or Ship Date: The date on which you last performed a material transaction for your serialized unit. Material transactions update this information when you move your serialized unit.
- Serial Status Oracle Inventory assigns one of the following statuses to your serialized unit: Defined but not used, Resides in inventory, Issued out of inventory, or Resides in in transit.
- Location: The organization, Subinventory, and locator in which the serialized unit currently resides. Material transactions update this information when you transfer the serialized unit.
- Revision level: The revision of the item when you assign the serial number to the unit.
- Lot number: During material transactions, you first specify the lot number and then the serial number. Oracle Inventory tracks the lot from which a specific serialized unit originates.
Case 1: Create Serial Controlled Item with Serial Generation at “Dynamic entry at Inventory Receipt”.
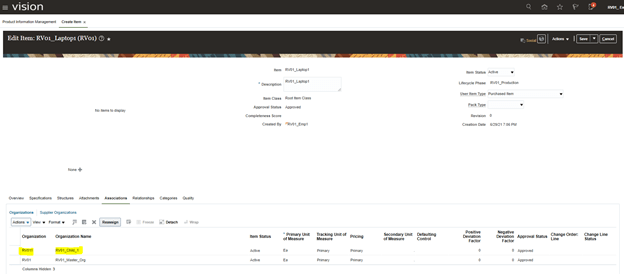
- Create Item with below features

- Navigation On Item screen -> Go To Specifications Tab -> Inventory -> Under Serial Section, ensure we select Generation =Dynamic Entry at Inventory Receipt.
- Enter values in
- Starting Prefix = “LAP_”
- Starting Number = “101”

- Go To Associations -> Search Child Organization and add RV01_Child_1.
Case 2: Change setup at Child Inventory Organization for Serial Number Generation.
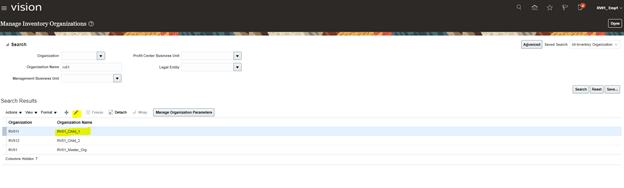
- Navigation -> To go Setup and Maintenance -> Click on Task Pane Carousel -> Click on Search. Enter Task “Manage Inventory Organization”
- Search with organization RV01 to fetch Child Org RV011. Select Child Org RV011 and Click on Pencil button to Edit.
- Click on Next button.

- Click on tab “Lot, Serial Number and Packing Unit” and Change Values under section Serial Number Generation
- Set Generation = “At Item Level”
- Prefix= “HP_”
- Starting Serial Number= “101”.

Case 3 : Generate Serial Number
- Schedule process to Generate Serial Number.

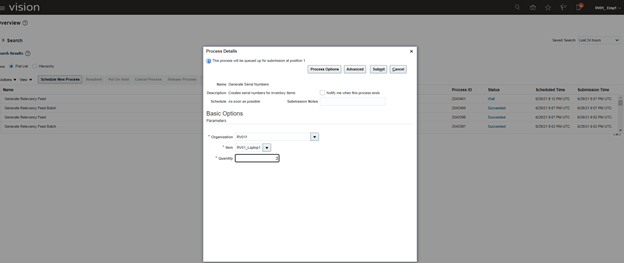
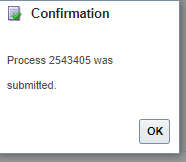
- Go to Supply Chain Execution -> Inventory management -> From Task Carousel select Manage Serial Numbers.
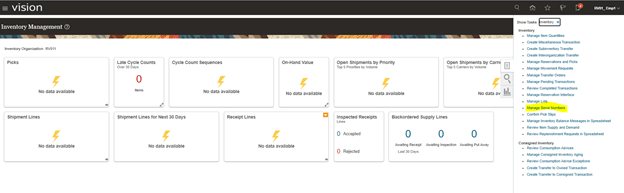
- Search for Item RV01_Laptop. 2, Serial Numbers would be generated.

- Note: Serial Number starts with Prefix LAP_.
- Reason: Since in Step 1(b), “Inventory Organization setup”, Serial number generation is set at Item level, so despite giving HP_ in Inventory organization setup, Prefix LAP_, given at Item level got selected.
If we would have given, at Organization Level, in Step 1(b), Serial number would had got generated with prefix LAP_.
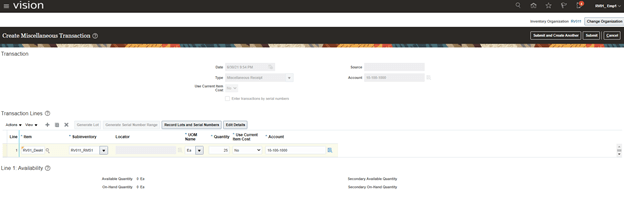
Case 4. Generate Serial Number during Miscellaneous Receipt Transaction
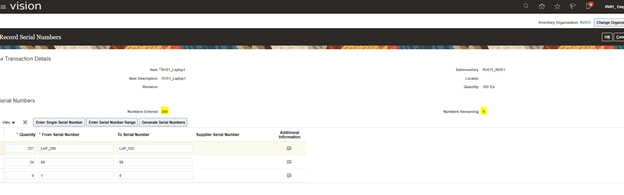
- Create Miscellaneous receipts. Click on Record Lots and Serial Numbers

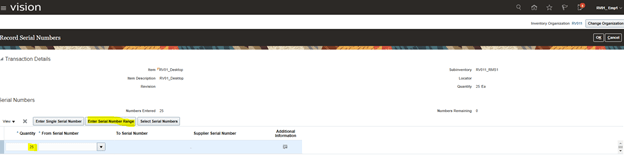
- Click on Enter Serial Number Range.

- Default Screen appears with Quantity as 300, qty entered above.

- If we enter value in “From Serial Number” as 1, it will default “To Serial number” to 9 as well.
- It will also populate values in Change Numbers Entered and Numbers remaining.

- Enter values in “From Serial Number” as shown below. It will generate “To Serial Number” and do calculation accordingly.
- Click on OK and Submit.

- Verify Generated Serial Number using Step C.
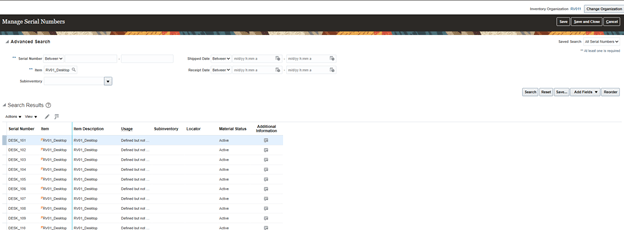
- Do note the usage of existing serial number and newly created serial Number.
- In below screenshot, Lap_101 and LAP_102 was created at step 1.C and its usage is Defined but not used.
- LAP_299 to LAP_ 555, is created during Miscellaneous transaction and its usage is “Resides in stores”.

Case 5. Add Supplier Details in Serial Number.
- In case supplier is providing item and want their Name and Serial Number in the list, we can do following.
- Navigation -> To go Setup and Maintenance -> Click on Task Pane Carousel -> Click on Search.
- Enter Task “Manage Serial Number”.
- Search with Serial Number and then Click on Pencil button to Edit.

- Enter Supplier Details and Supplier Provided Serial Number. Note: I didn’t enter correct supplier Number, so it is coming as error.

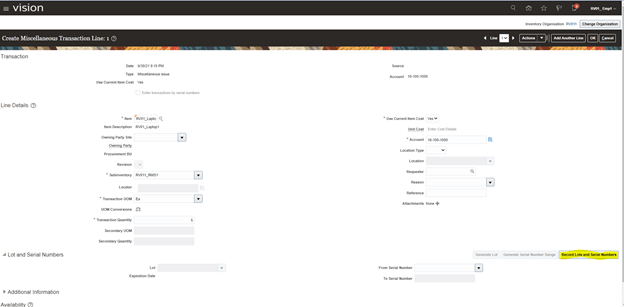
Case 6. Create Miscellaneous Issue transaction
- Navigation
- Go to Supply Chain Execution -> Inventory management -> From Task Carousel select Create Miscellaneous Transaction. Verify Organization is RV011 at top right corner.

- Enter following Details:
- Type= Miscellaneous Issue,
- Use Current Item Cost = Yes
- Account = 10-100-1000
- Click on Actions -> Add.

- Enter Item and QTY and Click on “Edit Details”
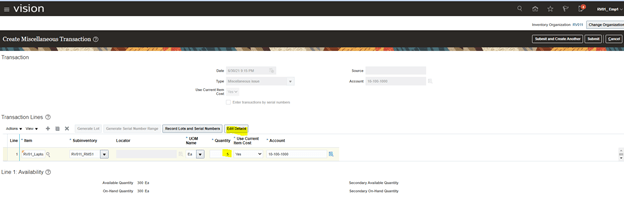
- Note: We cannot generate Serial Number during Miscellaneous Issue. As can be seen in above and below screen, Generate Serial Number Range is not Editable. Click on Record Lots and Serial Numbers.
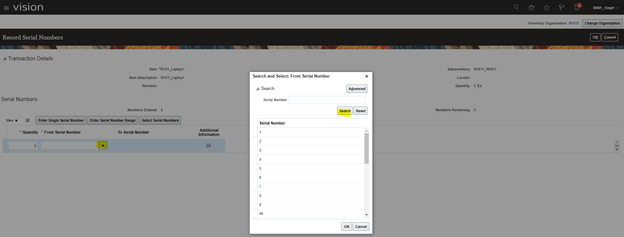
- Click on Enter Serial Number Range.

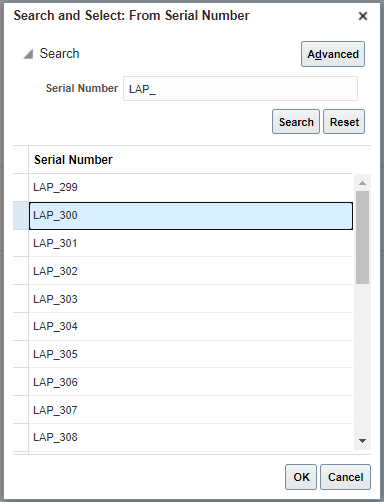
- Click on Drop Down option and then Click on Search button of From Serial Number.
- Select Lap_300, which was created during Miscellaneous Receipt Transaction.
- By Default, to Serial Number gets defaulted with End Sequence value. Click on Ok.
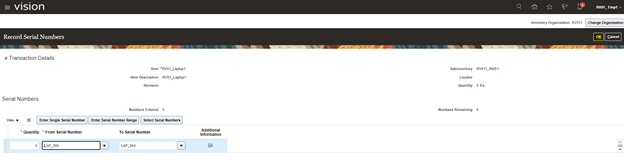
- Click on Submit.

- Verify Serial Numbers. Above entered Serial Number Starting from LAP_300 to LAP_304, status is Issued out Stores.

Case 7. Create Items with Predefined Serial Number Generation.
- Note: For Predefined Serial Number, Serial numbers cannot be generated at run time. Serial Numbers needs to be created first before getting used/Issue.
- Create Item with below exception being In Serial Number Generation Setup, change it to “Predefined Serial Number”.

- Generate Serial Number following Step C.

- Below Serial Numbers got generated.
- Create miscellaneous Receipt.
- Try entering Quantity as 25 instead of 10. You will not be able to generate Serial numbers during Receipt.
- Click on Edit Details -> Record Lots and Serial Number. Qty Field has value 25.
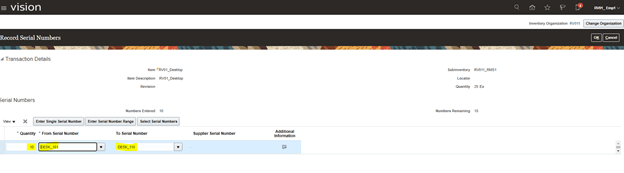
- Click on From Serial Number and Choose DESK_101. Keep a note on Qty which is still 25.
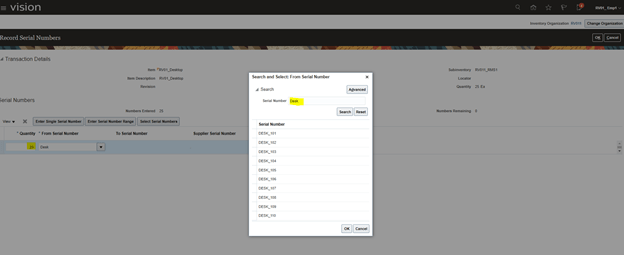
- Now Qty Changes to 10 and “From” and “To” serial number becomes DESK_101 and Desk_110, respectively. Since we had 10 serial numbers printed for this item only 10 Qty would be issued.
- In case you wish to Enter Serial Number Range for Qty 15, you cannot find Serial Number.

- If we try to do transaction only for 10 Serial Number without Changing entered QTY 25, at initial level, we will get error. Change Receipt Qty to 10 and then proceed further.

