Pre-requisite: Install BI Publisher Desktop version as a plugin in your Microsoft Word else you wont be able to create BI reports. Use below link to download the plugin.
https://www.oracle.com/middleware/technologies/analytics-publisher/downloads.html

Step1: Creation of New DATA MODEL
- Navigation -> Select Tools -> Click on Report and Analytics

- Click on Browse Catalog

- Go to Menu Option New -> Data Model

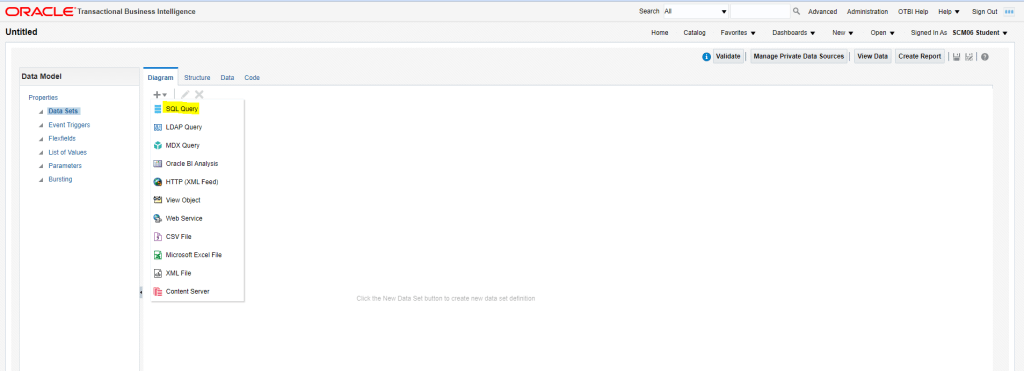
- Click on + Icon and Select SQL Query
- Enter below information
- Name of Data Set i.e., XXLT_Item_File_From for database file.
- Data source -> ApplicationDB_FSCM
- Type of SQL -> Standard SQL
- Table name was fetched from below location
- https://docs.oracle.com/en/cloud/saas/supply-chain-management/21a/oedsc/product-model.html#egpitemclassesb-9225
- For our example, I am taking EGP_ITEM_CLASSES_B
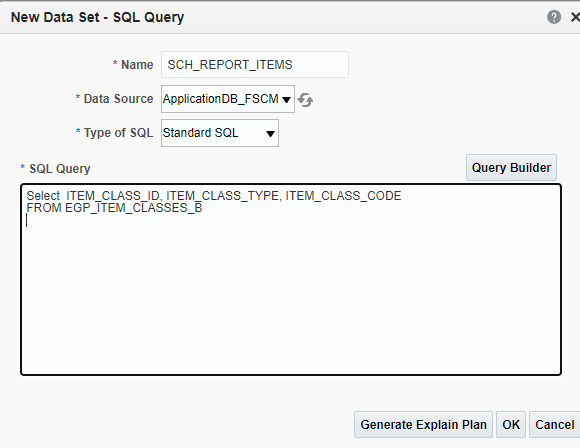
- Write SQL query and Click on OK.
- Save Data model with Name XXLT_ITEM_FILE_MODEL
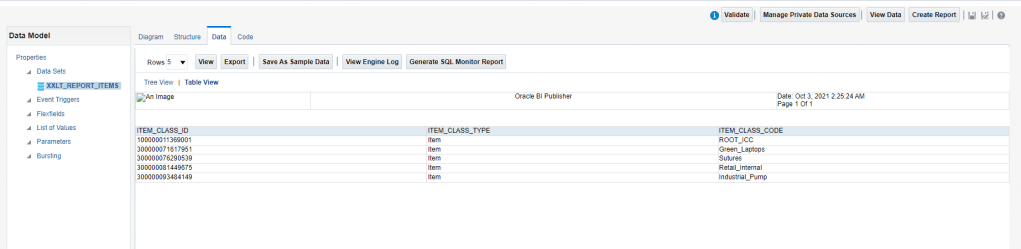
- Go to Data Tab to view data extracted from SQL query in Table View Mode.
- Click on Export Tab to save Data model. Save Data Model into a folder in your computer, where you wish to store all repositories.
Step 2: Create Report Layout
- In your computer, Go to your folder/repository and create a word document. Save the Word Document in RTF format with name “XXLT_ITEM_FILE_TMPL”
- In Word document, go to BI Publisher Menu. Click on Sample XML option.
- Select Data model name “XXLT_ITEM_FILE_MODEL” and click on OK

- Data Loaded Successfully message should appear.
- Select Table Wizard option
- It will choose data set by default
- Choose fields which you want in report
- Choose Group By option
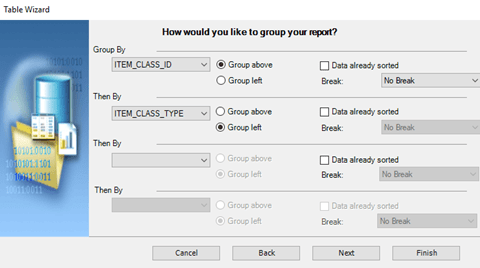
- Choose Sort By option and click Finish
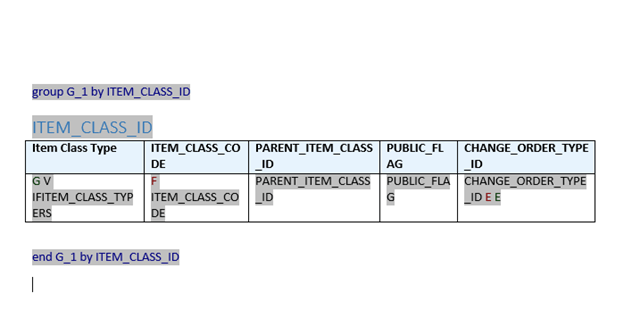
- Finally Layout will be created as shown below
- Enter Header and Footer for Suitable Heading
- Change Alignment accordingly and you can preview in PDF format to be sure report comes.
Step 3: Upload Report Layout
- Click on Create Report from Menu Option.
- Default Selection of Data Model wizard appears. Click on Cancel
- On Left hand side, next to Data model there is Search icon. Click on it to choose Data model “XXLT_ITEM_FILE_MODEL”

- Data Model should get selected

- Click on Upload or Generate Layout
- Go to your repository and select RTF document with name “XXLT_ITEM_FILE_TMPL”

- Template will appear as below
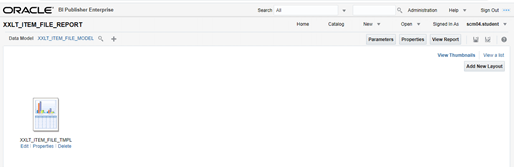
- Click on Save to save Report. Save report as “XXLT_ITEM_FILE_REPORT”
- On RIGHT Corner there is View a List option, Click on it to view which report you want to see first in case we have multiple templates.
- Click on View report to see data. We have option to see Data in PDF as well as in other format.
Step 4: To migrate BI Report from one instance to another
- Select complete folder in case you want to transfer Template, Data model and report together in one go.

- Click on Download. File will be downloaded in XDRZ format
- Save file in repository, then click on Upload to upload RAVI TEST file in new instance. File will be uploaded.
