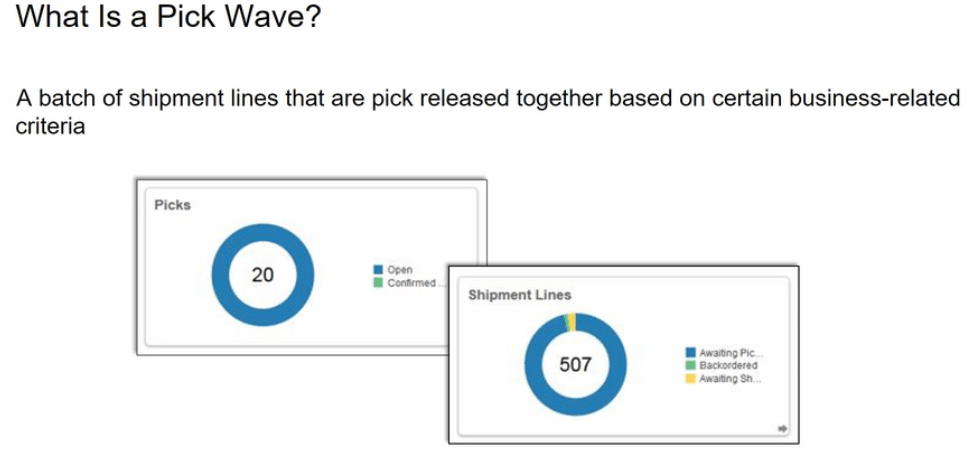
When is Pick Wave used
It is used most Often for
- Fulfilling a particular customer demand
- Optimizing transportation
- Fulfilling backorders to reduce delay in shipment
Steps of Pick Wave
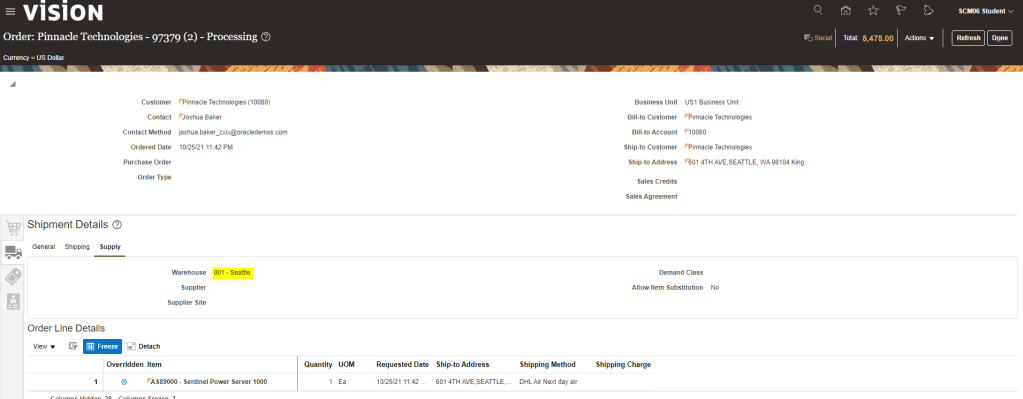
Step1: Create Order
- Create Order with Supply Warehouse as Seattle. Ensure Line status of this Order is “Awaiting Shipping”.
Step 2: Ensure Inventory Organization has Pick Confirmation Required as Unchecked
- Inventory Organization should have Pick Confirmation Required Unchecked else even if we try for Auto Pick Confirm, it will not proceed further.

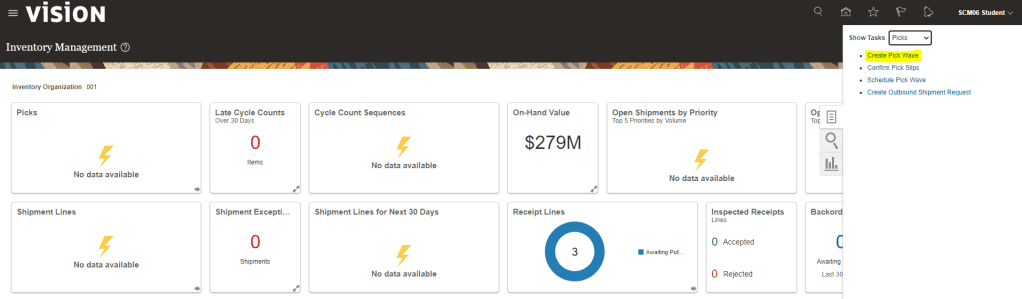
Step 3: Create Pick Wave
- Navigation: Go to Supply chain Execution -> Inventory Management -> Go to Task Panel tab -> Select Picks -> Choose Option “Create Pick Waves”
- Enter Following Details
- Inventory Organization at Top Right Corner should be “001”.
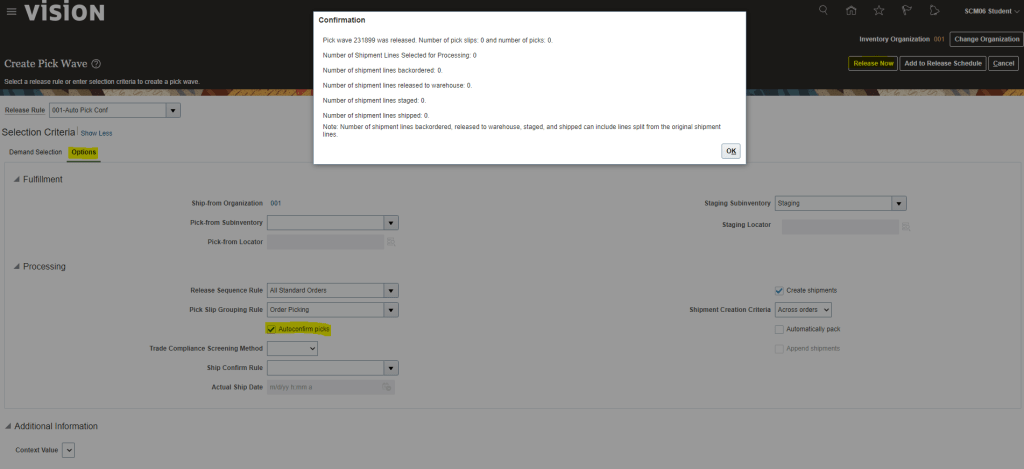
- Release Rule : 001-Auto Pick Conf. This rule is a task which can be viewed at “Manage Pick Wave Release Rule“.
- Order Type : Sales Order

- After entering Above Details, Click on “Show More“. Click on Options Tab
- Ensure AutoConfirm Picks is Checked.
- Click on Release Now.

- On clicking Release Now, Pick Wave Number will be generated along with Number of Pick Slips as “1” and Number of Picks as “1”.
- A Job “Print Pick Slip Report” gets scheduled, which can be viewed by going to Tools-> Scheduled Job.

Once Job completes, see attachment to view the Pick Slip Report.
Step 4: View Shipment
- Navigation: Go to Supply chain Execution -> Inventory Management -> Go to Task Panel tab -> Select Shipments -> Choose Option “Manage Shipments”.
- Enter Order Number “97379”,
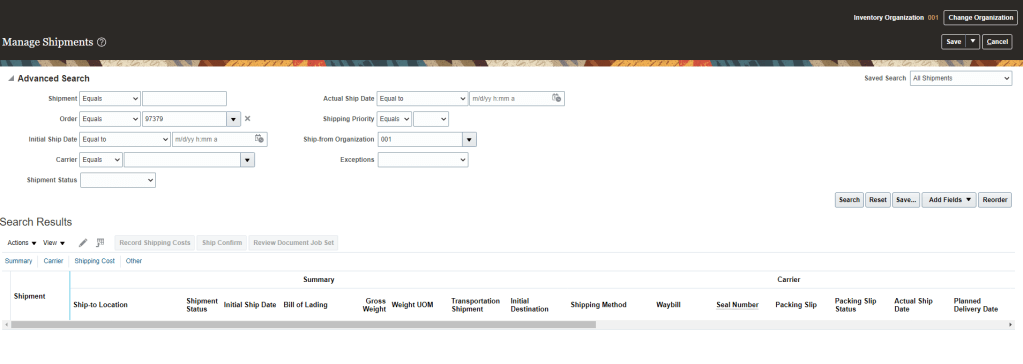
- We will Shipment Lines along with following details
- We can see Shipping Method attached to Shipment
- Line Status will be Staged
