Step1 : Check version of your Oracle Fusion.
- Go to Fusion-> Settings and Actions -> Click on About this Applications

- Below is the version of Cloud Application and its 20D.

Step 2: Download FDBI template from Oracle Site.
- Go to Oracle Site, https://docs.oracle.com/en/ -> Select Cloud Application

- Select Inventory Management

- Select version related to your application. It has 20B and 21A, so I am going with 21A.


- Based on version, choose either All Books or Books. We need to look for File-Based Data Import for Oracle Supply Management Cloud. Based on Version you can get it under different section.
- Click on HTML Link.

- Based on version, Nomenclature and location of FBDI template will vary.
- Click on XLSM template. An excel sheet will get downloaded.
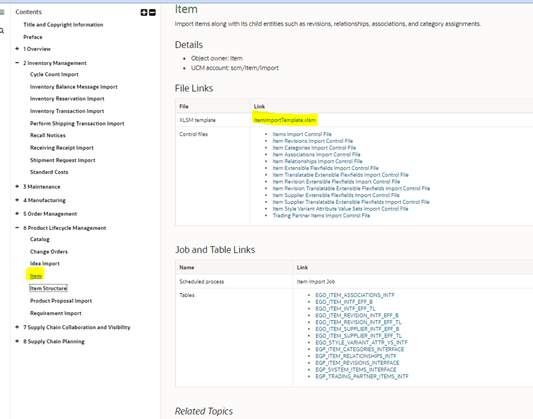

- Below is Sample Template.

Step 3: Make entry of items into Inventory Template.
- Enter details of Product to be uploaded as shown below. Details can be seen in attached excel sheet.
- Do copy Batch ID from first line, which will be used in next step.

- Input files Look after modification

- Click on Generate CSV file and it will create 1 zip with 13 files.

- Save the Generated Zip file in a document folder.
Step 4: Bring in Excel Data from to Universal Content Manager (UCM)
- Select File Import and Export from Tools Option.
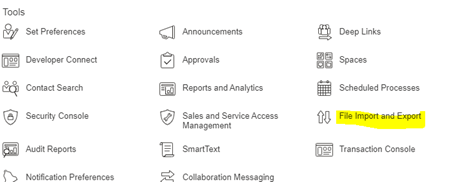
- Below screen appears
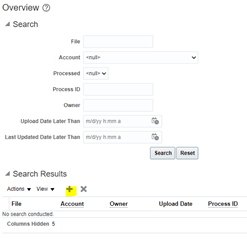
- Choose the Excel file and enter Account from drop down list. It has to be scm/item/import

- Excel file gets loaded into UCM.

Step 5: Bring in Data from Universal Content Manager (UCM) to Interface Area of Item
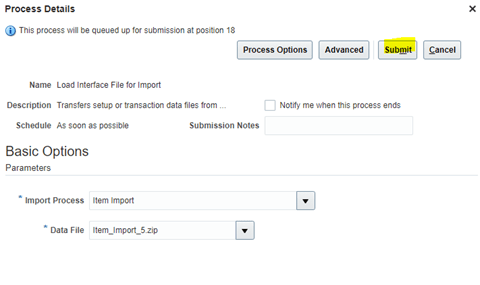
- Run job “Load Interface File for Import”. Select Import Process as “Item Import”.

- Select Data file which was uploaded in previous step and click on Submit.
- Ensure Job completes Successfully.

Step 6: Bring in Data from Interface Table to Item Table
- Run Job “Item Import”.

- Below Job should run and complete successfully.

Step 7: Browse Loaded Item into PIM

Step 8: Mass Item Changes, Add Organization to the Item
- Select Item -> Go to Actions -> Manage Item Mass Changes -> Assign Items to Organizations

- Click on + Button to add Organization

- Click on OK and Submit.


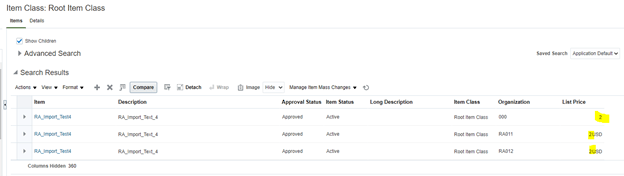
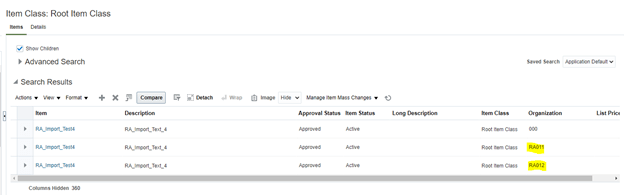
Browse Item after Organizations get added
Step 9: Add Price to each item
- Select Item -> Go to Actions -> Manage Item Mass Changes -> Assign Items to Organizations

- Enter List Price against each item and Click on Submit.


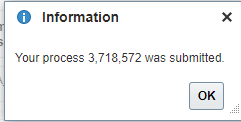
- On clicking Submit, Job gets Submitted.
Browse Item after List price gets added