Step 1 : Create FTP Source Connection
- Navigation : Integrations -> Connections -> Click on Create.
- Select Adapter = “FTP”.
- Enter Name = “FTP Demo”.
- Identifier gets populated automatically.
- Role = Trigger and Invoke.
- Click on Create.

- On Next Screen, enter following
- FTP IP address = “129.213.37.102”.
- Port Number = “22”
- SFTP Connection = “Yes”
- User Name = user1.
- Password = “xxxxxx”.
- Click on Save and Test.
- Ensure its tested successfully and % is 100%.

Step 2 : FileZilla Setup
- Using IP address, Userid and password of FTP server used in Step 1, connect to FTP server using Filezilla.
- After connection is established, create an new directory Ora004 in FTP server.

Step 3 : Database Connection
- Login to OCI using credentials provided.
- URL : https://myservices-ocuocictrng20.console.oraclecloud.com/mycloud/cloudportal/dashboard
- User Name: “99424899-ora049”
- Password: “xxxx”
- After Logging into OCI, either take the route of OCI -> Autonomous Database and select the Database provided to you.

- Select the Database ATP99424340 and click on DB Connection.

- Click on Download Wallet
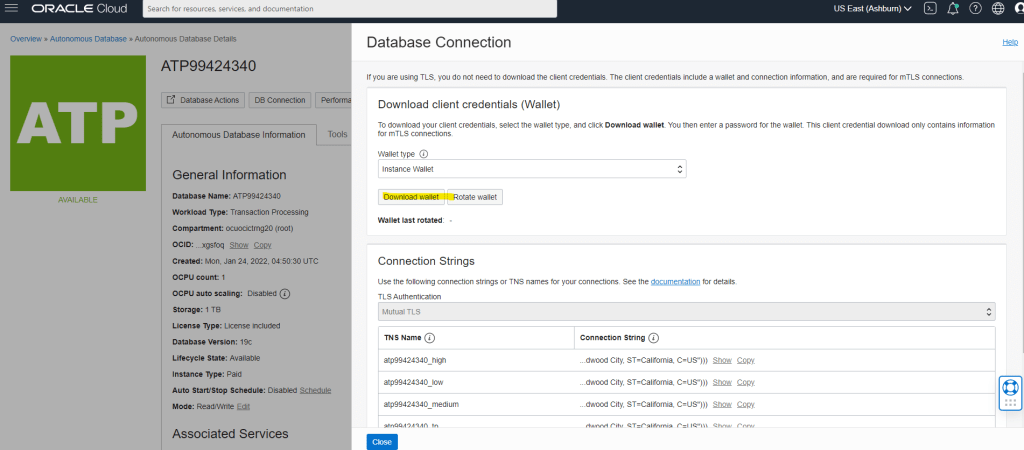
- It will ask to create a Password, do note that password as it will be used later in the steps of OCI credentials. Click on Download and save the zip file.

- Unzip wallet and click on tnsnames and open it in notepad. We will be needing port and host of “atp99424340_low” to create connection in OIC.

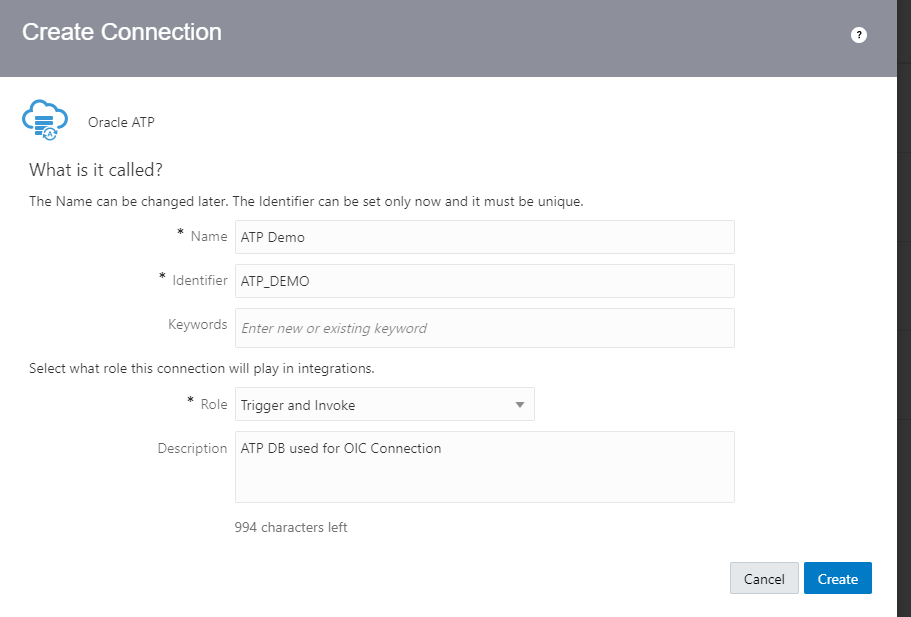
Create Connection for Oracle ATP
- Navigation : Integrations -> Connections -> Click on Create.
- Select Adapter = “Oracle ATP”.
- Enter Name = “ATP Demo”.
- Identifier gets populated automatically.
- Role = Trigger and Invoke.
- Click on Create.
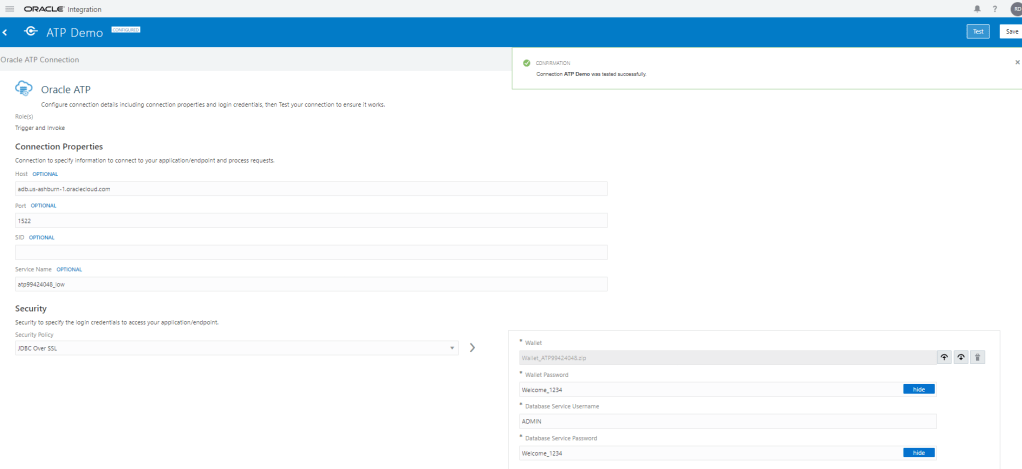
- Enter below details
- Host : url of Database Wallet in this case “adb.us-ashburn-1.oraclecloud.com”
- Port : port of Database Wallet, in this case “1522”.
- Service_Name = “atp99424340_low“
- Security Policy =”JDBC Over SSL”
- Wallet = Upload the wallet in Zip file which was downloaded in Step 3
- Wallet Password = Enter the password which was created at time of downloading the wallet. “Welcome_1234”.
- Database Service Username = ADMIN
- Database Service Password = Welcome_1234
- Click on Save and Test Connection.
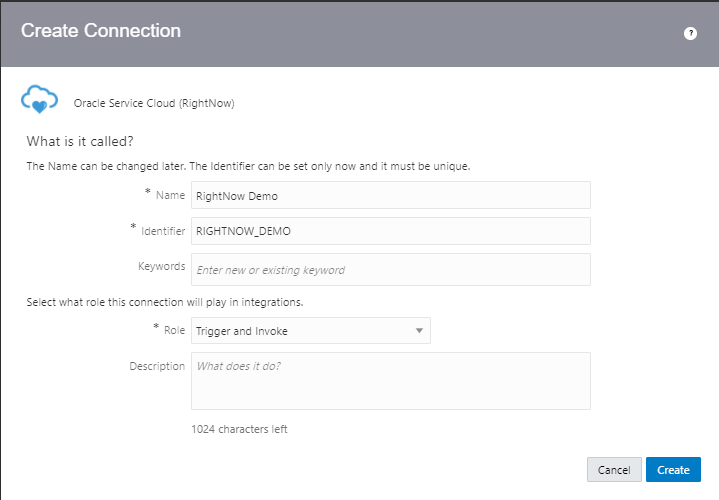
Step 4 : Create Connection for Oracle Service Cloud(RightNow)
- Navigation : Integrations -> Connections -> Click on Create.
- Select Adapter = “Oracle Service Cloud(RightNow)”.
- Enter Name = “RightNow Demo”.
- Identifier gets populated automatically.
- Role = Trigger and Invoke.
- Click on Create.
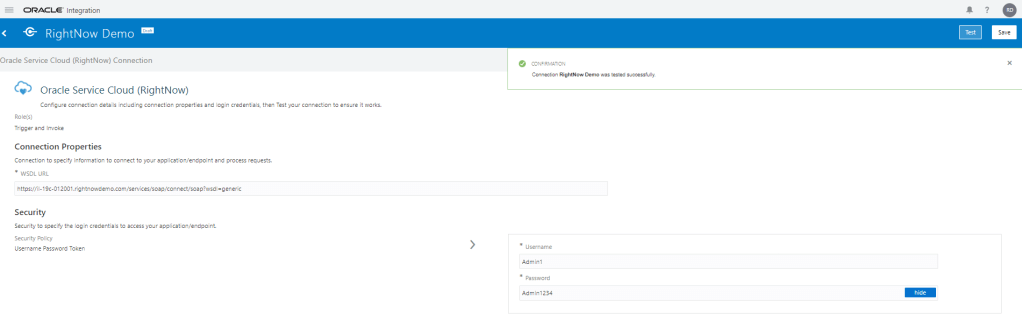
- Enter below details
- Userid : Admin1
- Password : Admin1234
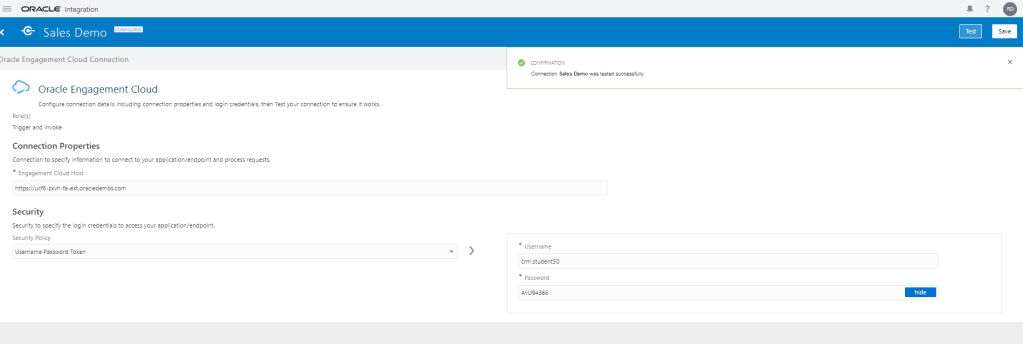
Step 5 : Create Connection for Oracle Engagement Cloud
- Navigation : Integrations -> Connections -> Click on Create.
- Select Adapter = “Oracle Engagement Cloud”.
- Enter Name = “Sales Demo”.
- Identifier gets populated automatically.
- Role = Trigger and Invoke.
- Click on Create.

- Enter below details
- Engagement Cloud Host :https://ucf6-zxvh-fa-ext.oracledemos.com
- userid : crm.student50
- Password : AvU94366
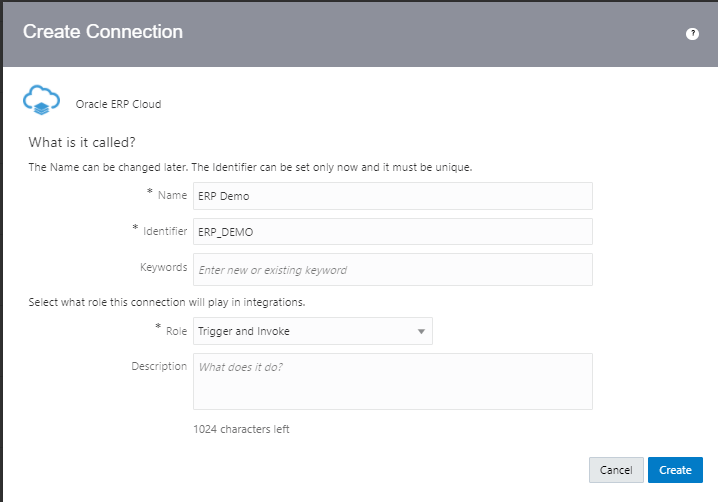
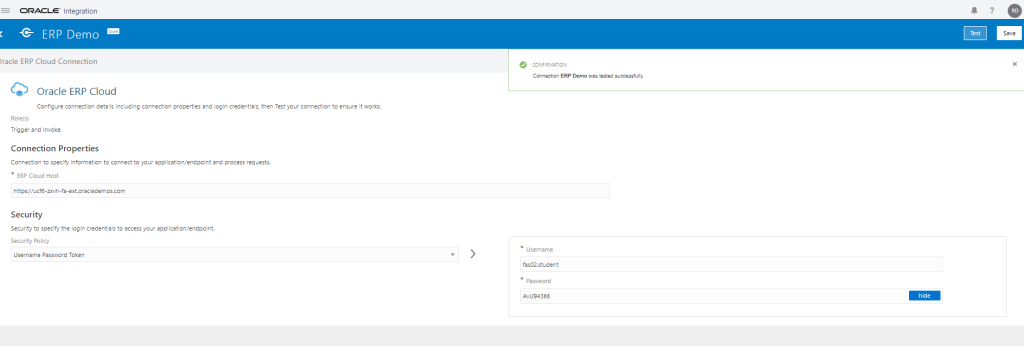
Step 6 : Create Connection for Oracle ERP Cloud
- Navigation : Integrations -> Connections -> Click on Create.
- Select Adapter = “Oracle ERP Cloud”.
- Enter Name = “ERP Demo”.
- Identifier gets populated automatically.
- Role = Trigger and Invoke.
- Click on Create.
- Enter below details
- Engagement Cloud Host : https://ucf6-zxvh-fa-ext.oracledemos.com
- Userid : fas02.student
- Password : AvU94366
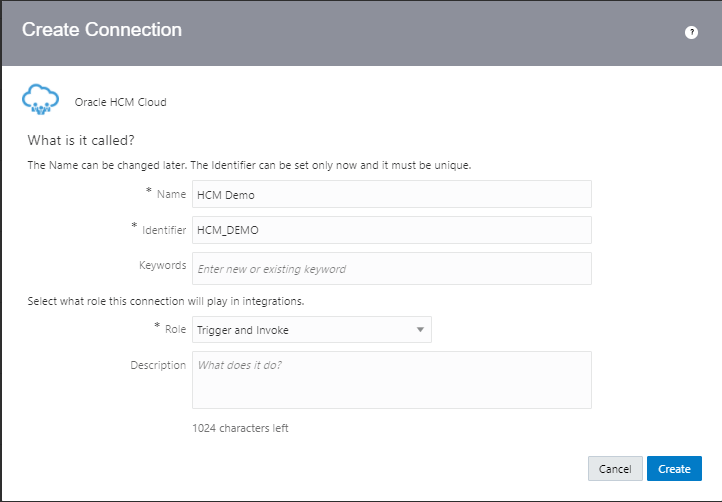
Step 7 : Create Connection for Oracle HCM Cloud
- Navigation : Integrations -> Connections -> Click on Create.
- Select Adapter = “Oracle HCM Cloud”.
- Enter Name = “HCM Demo”.
- Identifier gets populated automatically.
- Role = Trigger and Invoke.
- Click on Create.
- Enter below details
- Engagement Cloud Host :https://ucf6-zxvh-fa-ext.oracledemos.com
- userid : hcm_impl1
- Password : AvU94366
- Click on Save and Test Connection

Step 8 : Create REST Connection
- Navigation : Integrations -> Connections -> Click on Create.
- Select Adapter = “REST”.
- Enter Name = “Country Demo”.
- Identifier gets populated automatically.
- Role = Invoke.
- Click on Create.

- Enter below details
- Connection Type : REST API Base URL
- Connection URL : http://restcountries.eu/rest/v2/
- Security : No Security Policy

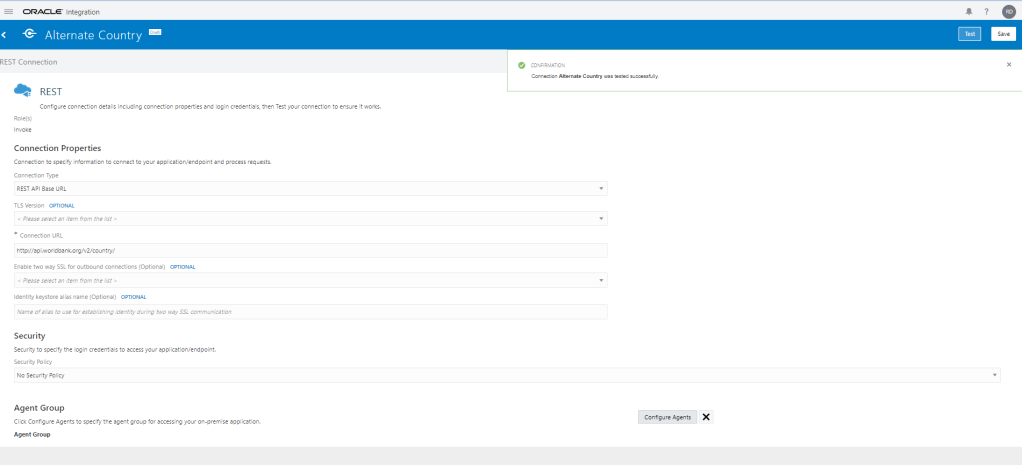
Step 9 : Create REST Connection
- Navigation : Integrations -> Connections -> Click on Create.
- Select Adapter = “REST”.
- Enter Name = “Alternate Country “.
- Identifier gets populated automatically.
- Role = Invoke.
- Click on Create.

- Enter below details
- Connection Type : REST API Base URL
- Connection URL : http://api.worldbank.org/v2/country/
- Security : No Security Policy