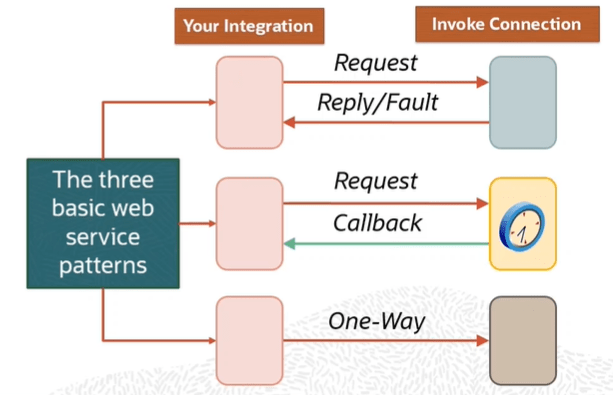
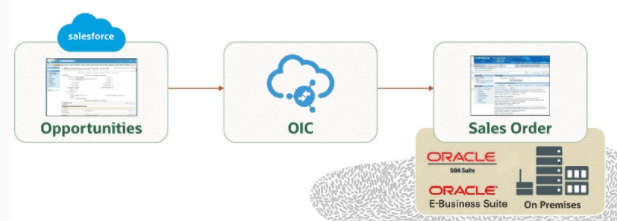
Scope Statement : We will establish a mechanism to synchronize new accounts that are added to Oracle Engagement Cloud(Sales Demo) to ultimately create a new Organization(associated with account) in Oracle Service Cloud(RightNow). This will be done in 5 steps.
- Step 0 : Create Adapters Oracle Engagement Cloud and Oracle Service Cloud.
- Step 1 : Create a new Domain Value Map which in OIC world is know as a Lookup, which will be used to facilitate data mapping for Address Type information between the two SaaS application domains.
- Step 2 : Create a new integration flow using the Publish style that receives the new account business object from Oracle Engagement Cloud.
- Step 3 : Create a new integration flow using the Subscribe style, receiving the Engagement Cloud Account. Then leveraging your newly created lookup, map data between the Oracle Engagement Cloud Account business object and a request to create a new Organization business object in an Oracle Service Cloud(RightNow) application instance.
- Step 4: Test the use case by invoking the Publish Integration, simulating an Oracle Engagement Cloud application sending a one-way message to OIC with the new account information.
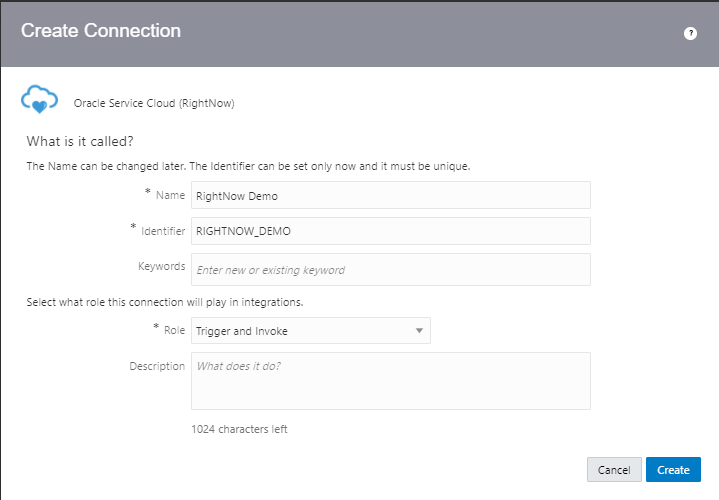
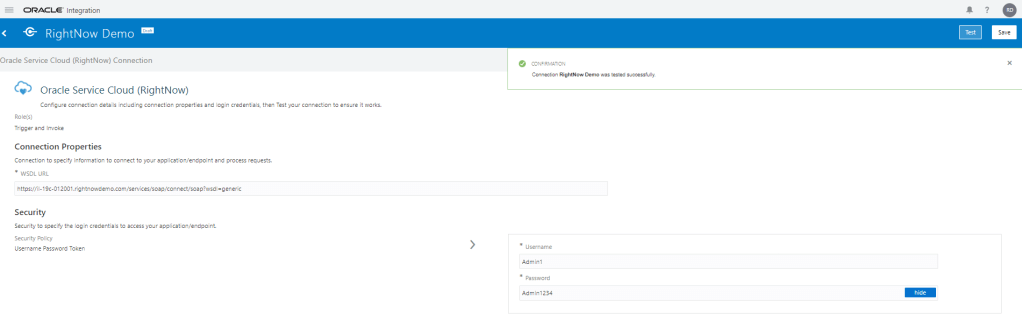
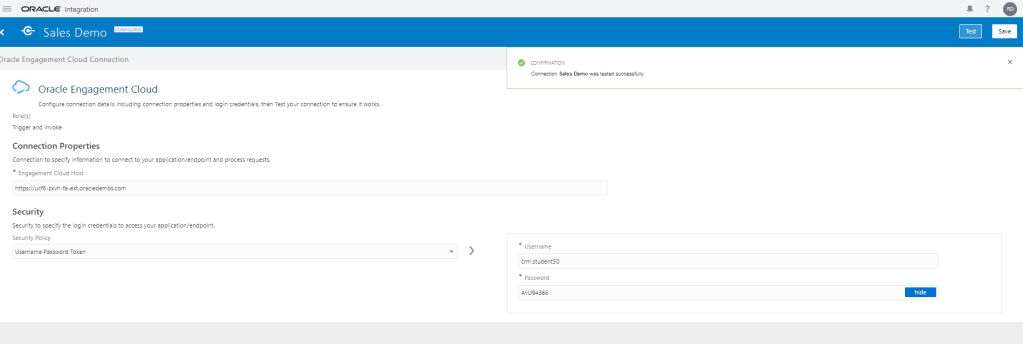
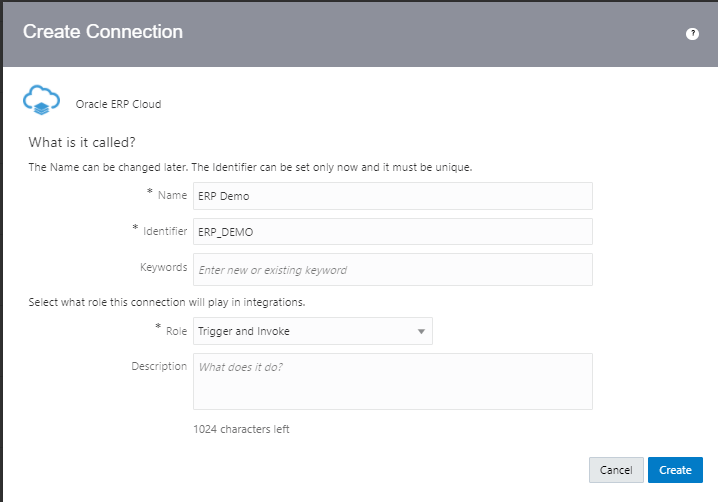
Step 0 : Create below Adapters.
These adapters are already created and their details are mentioned in the link.
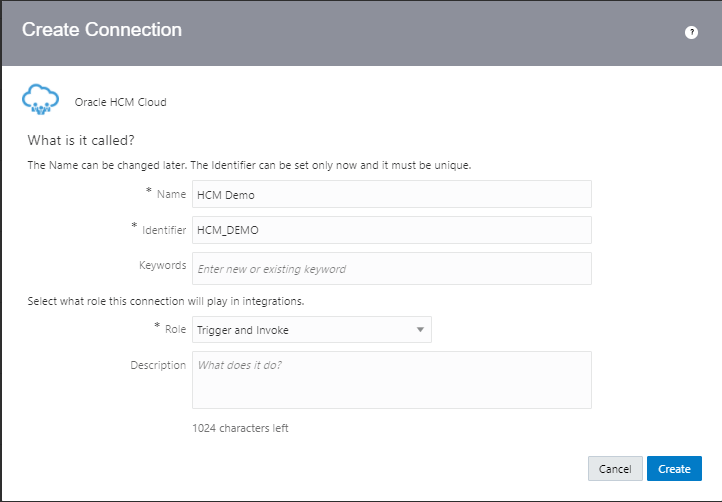
- Oracle Engagement Cloud Adapter( Sales Demo Connection created in Step 5 in above Link)
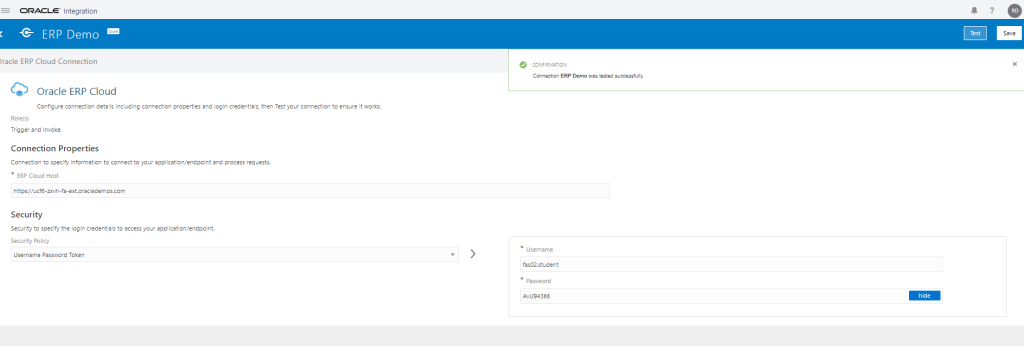
- Oracle Service Cloud Adapter( RightNow Demo Connection created in Step 4 in above Link).
Step 1: Creating a Lookup.
- Navigation : Integrations -> Lookups -> Click on Create.
- Enter Name = “ora004AddressType” and click on Create.

- Select Domain_Name_1 and click on Replace with Adapter.

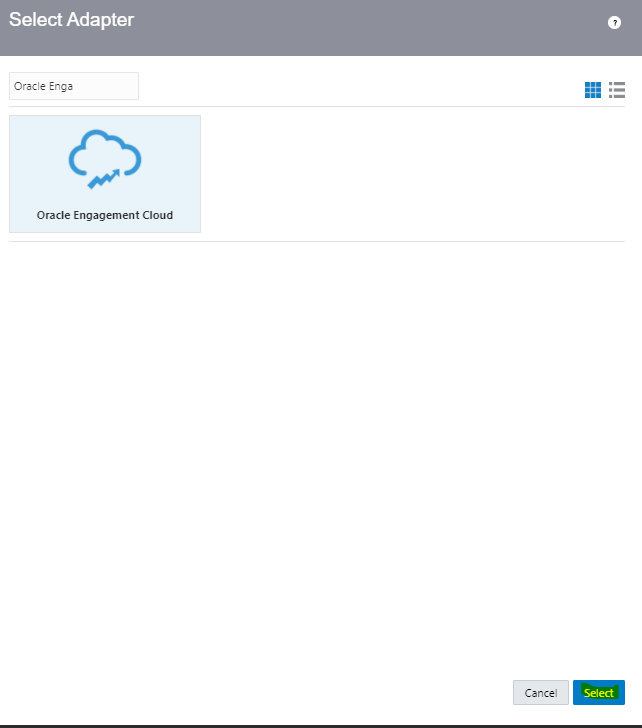
- Select Adapter -> Oracle Engagement Cloud and click on Select.
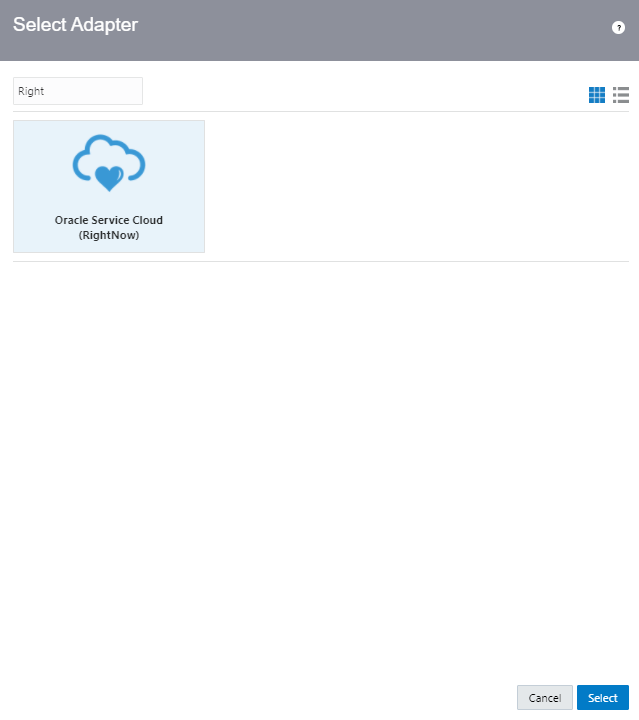
- Repeat the above step for Domain_Name_2 and choose Adapter Oracle Service Cloud(RightNow).
- Enter Lookup Values. To add new row, click on “+” button.
- 1 = Billing
- 2 = Shipping
- Once all lookup values added, click on Save.

Step 2: Create Publish to OIC Integration
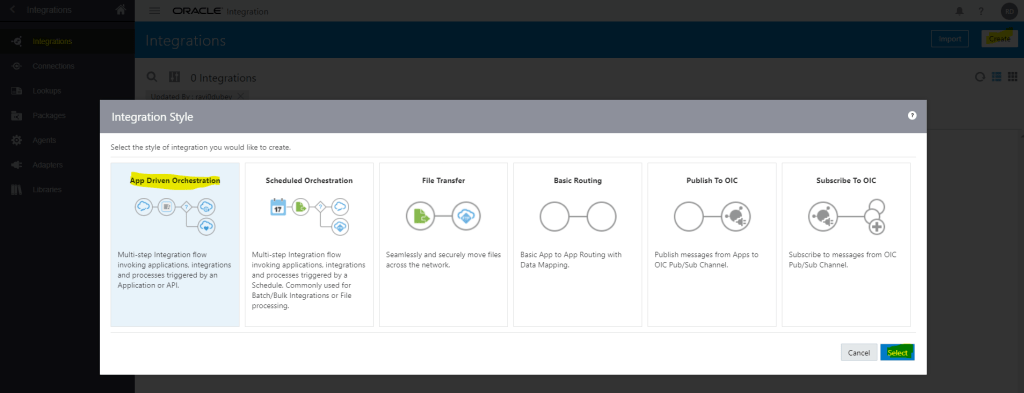
- Navigation : Integrations -> Click on Create.
- Choose Publish To OIC and click Select.

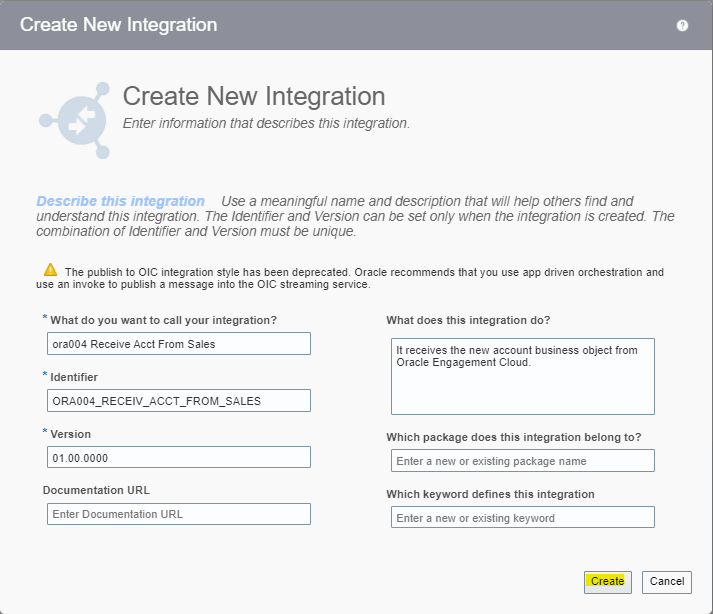
- Enter Name = ora004 Receive Acct From Sales and click on create.
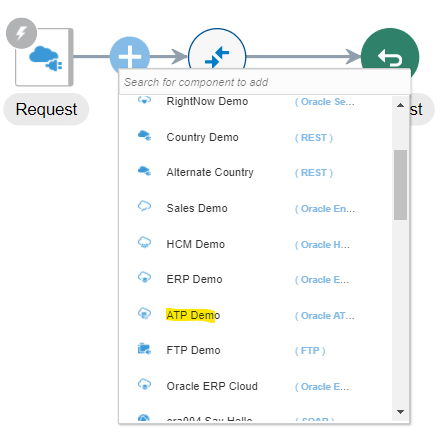
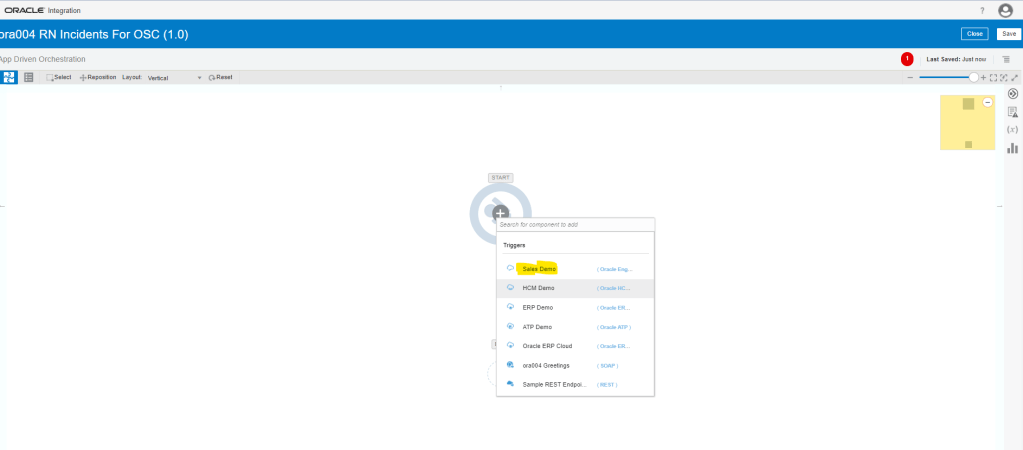
- On Right side of Canvas, search for Sales Demo and Drag and Drop Sales Demo to the Trigger on Left Side.

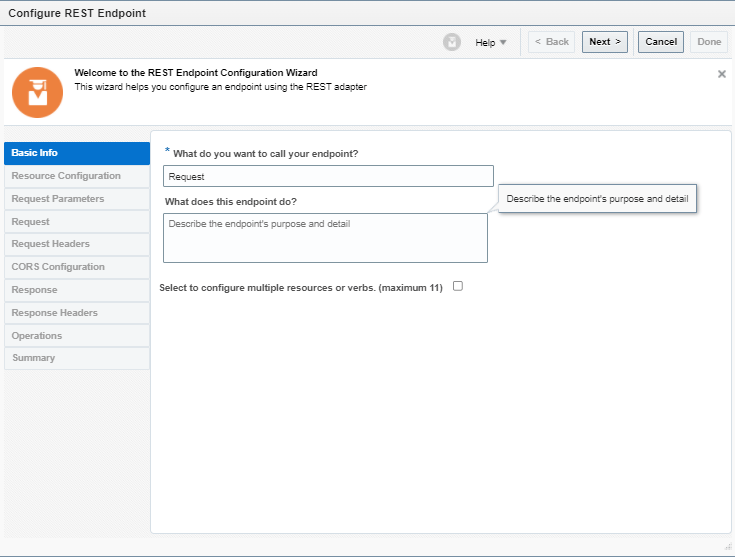
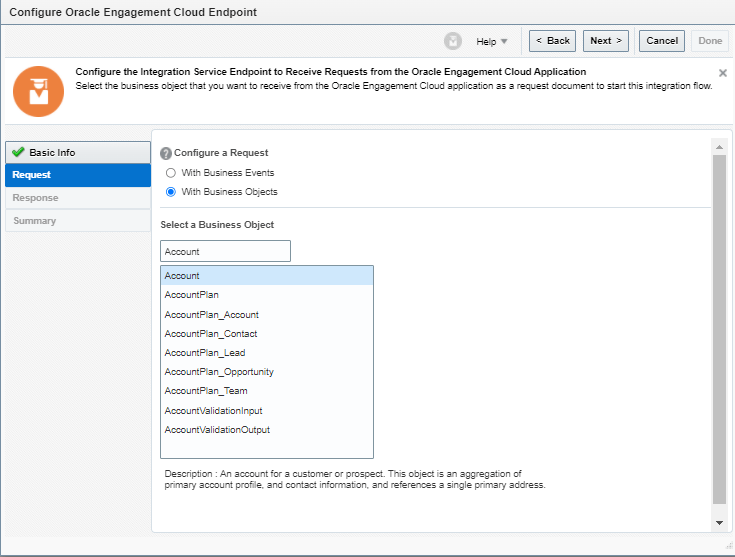
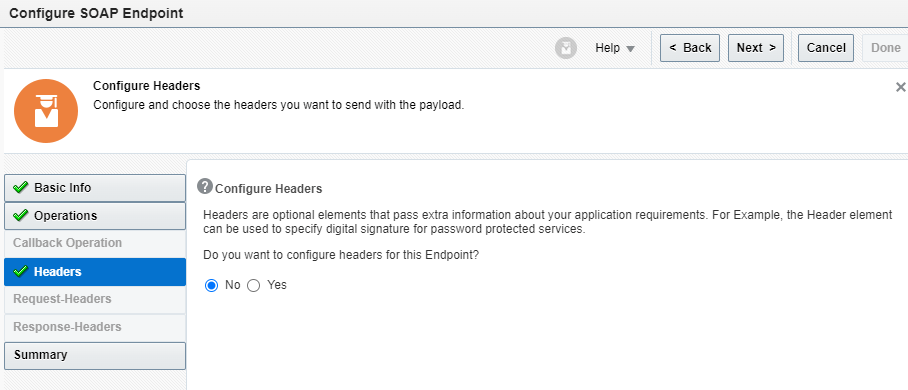
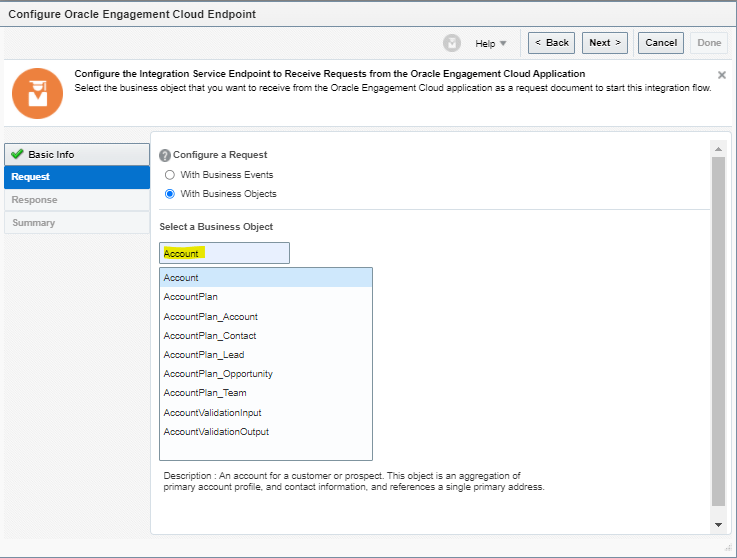
- Enter Details of Oracle Engagement Cloud Endpoint
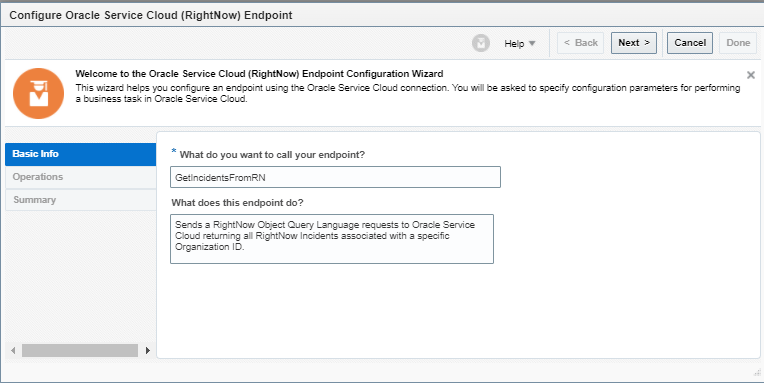
- Enter Name = “GetAccount”.

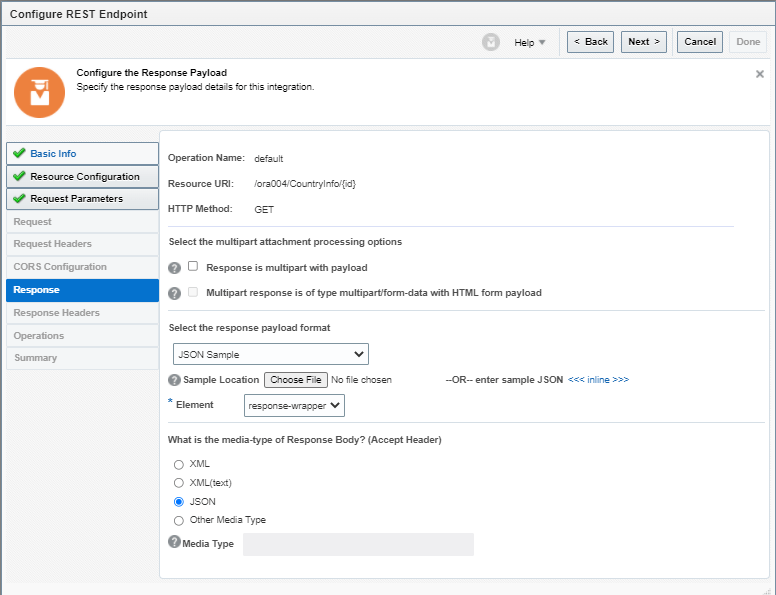
- For Configure a Request, select “With Business Objects” and in Business Object field select as “Account” and click on Next.
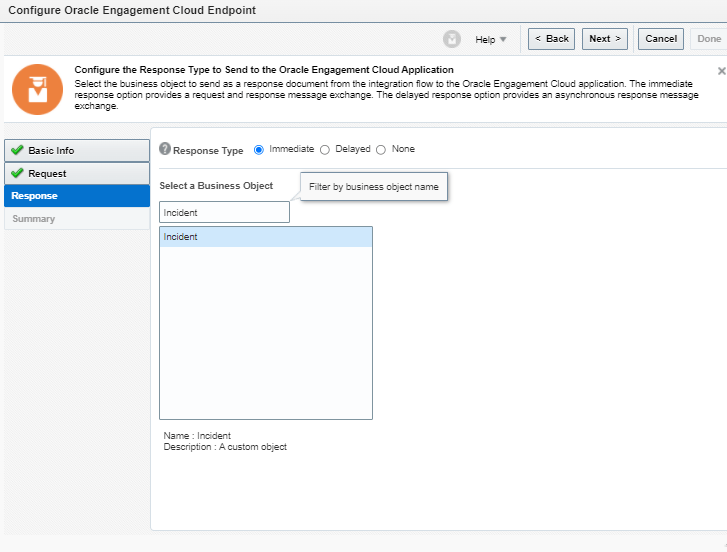
- For Response type = select “None” as there is nothing to provide response since it is a Publish Style Integration.
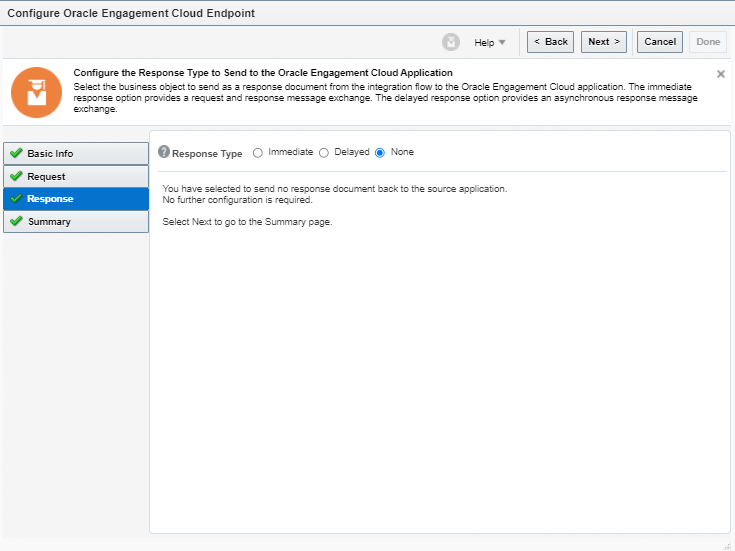
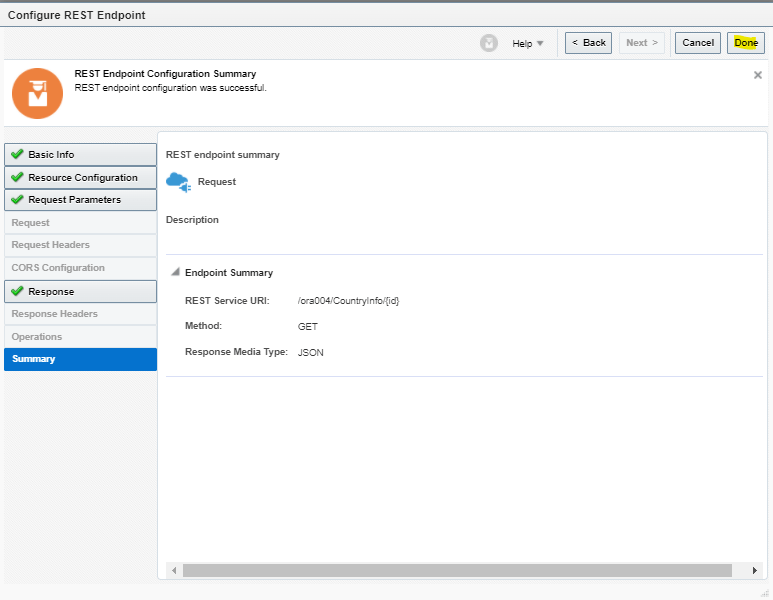
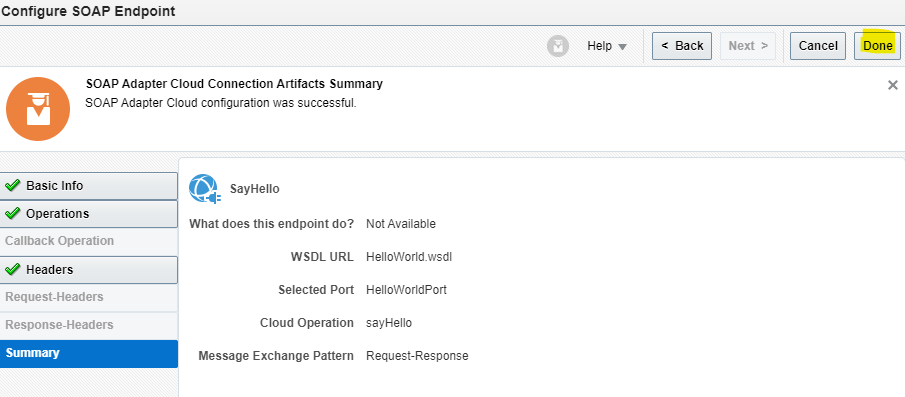
- On Summary page click on Done.

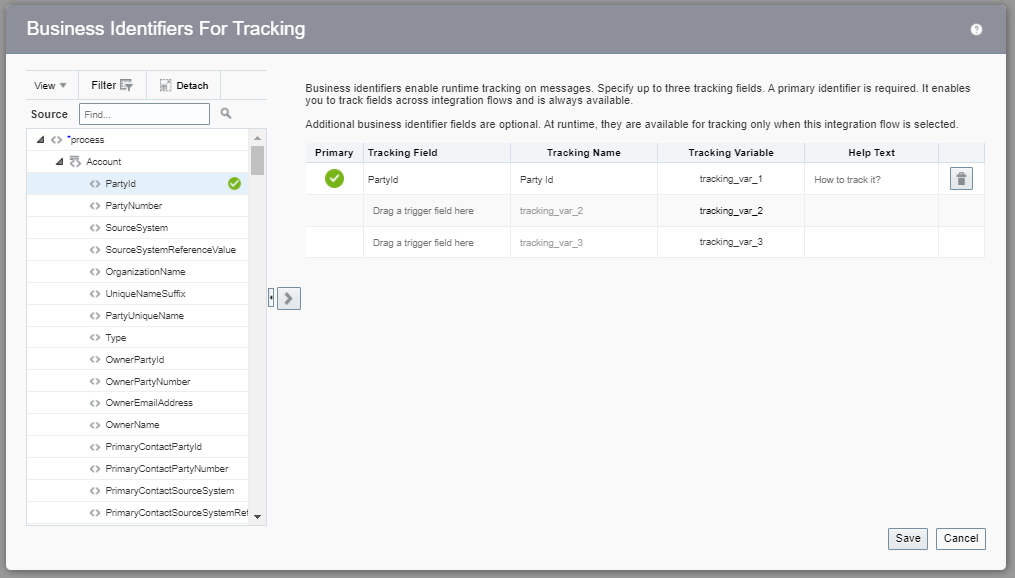
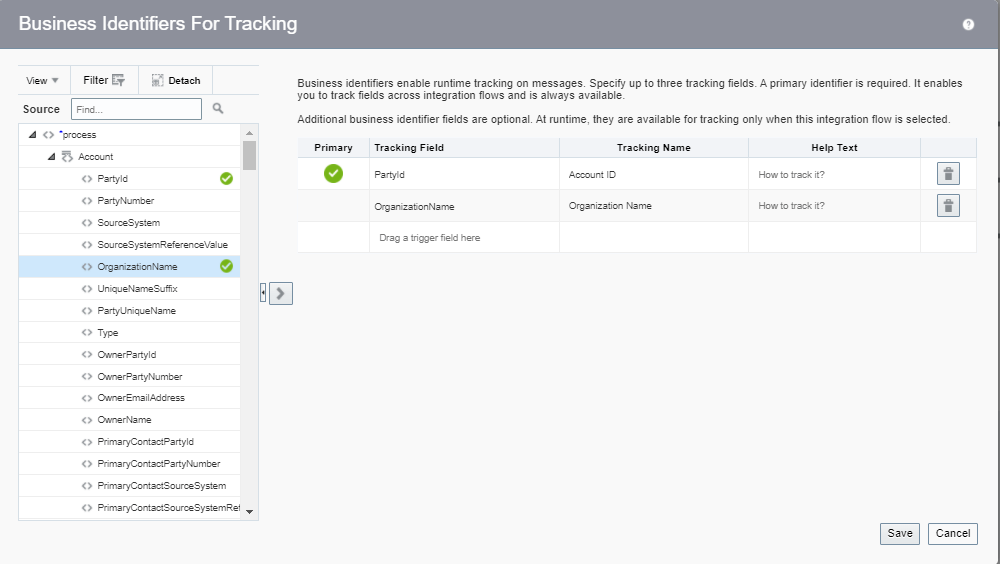
- Add Tracking Id by selecting the PartyID of Account and change the Tracking Name to Account ID and click on Save.
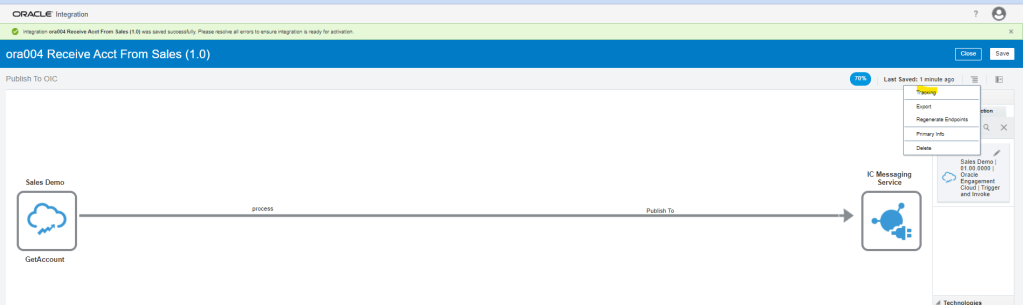

- Save and Activate the Integration


Step 3: Create Subscribe to OIC Integration
- Navigation : Integrations -> Click on Create.
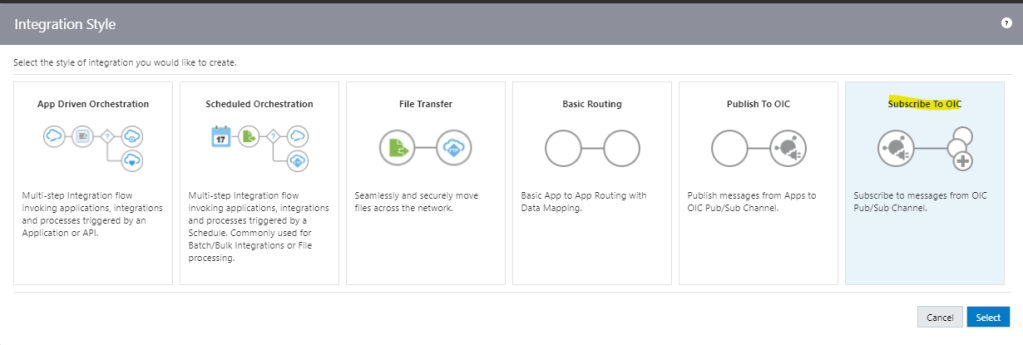
- Choose Subscribe To OIC and click Select.
- Enter Name and Subscription for below Integration and click on Create.

- Select Published Integration “ora004 Receive ACCT From Sales” which was created in Step 2.

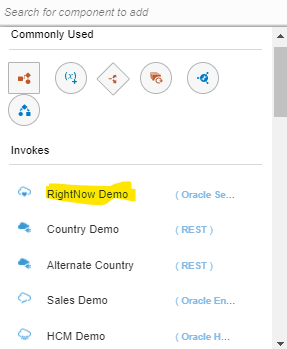
- Search for RightNow Demo adapter on right hand corner and drag and drop on the right corner.

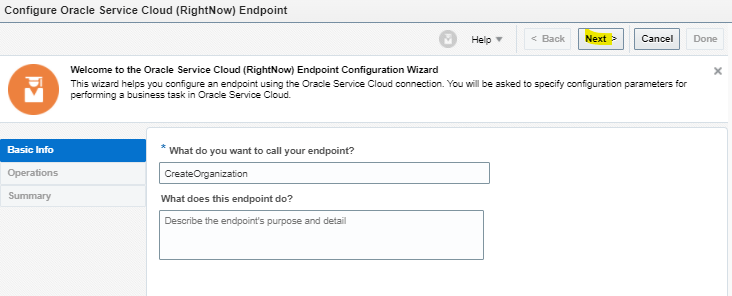
- Enter name of Endpoint “CreateOrganization” and click on Next.
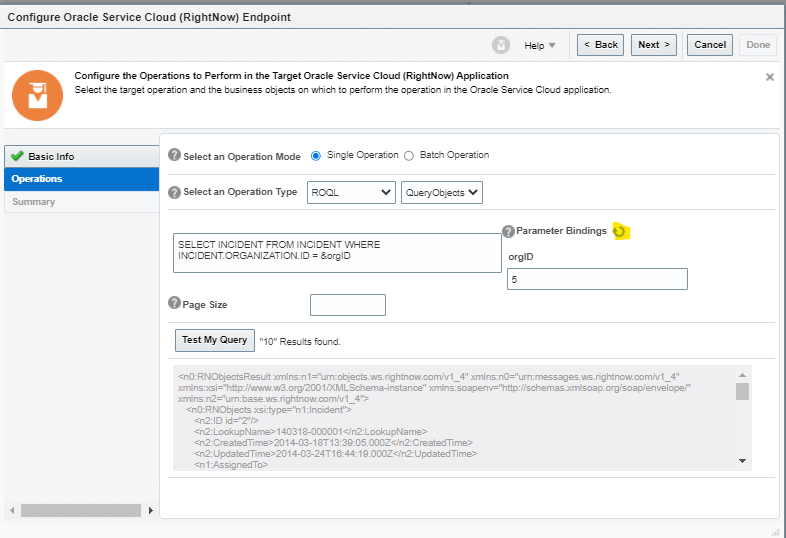
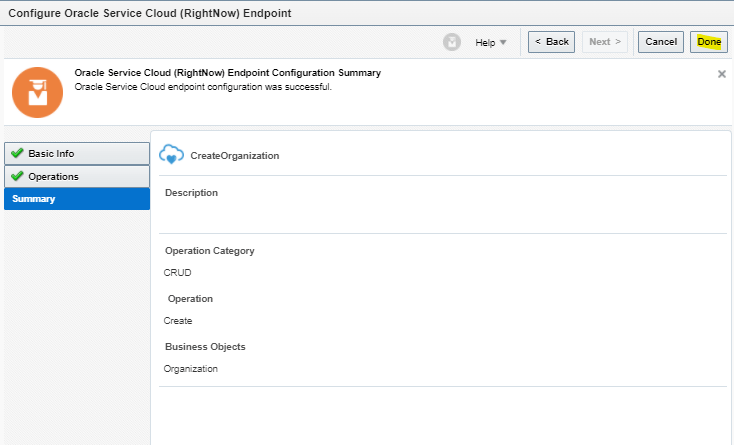
- Select below Details and click on Next
- Operation Mode = “Single Operation”.
- Enter Operation Type = “CRUD”.
- Operation = “Create”.
- Business Object to be created = “Organization”.

- On Summary page, click on Done.
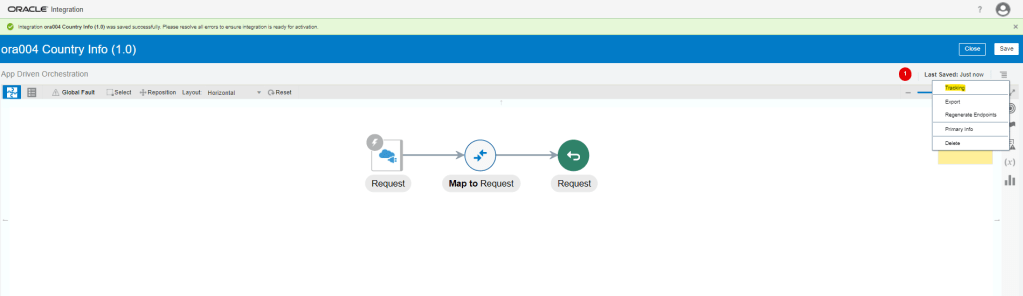
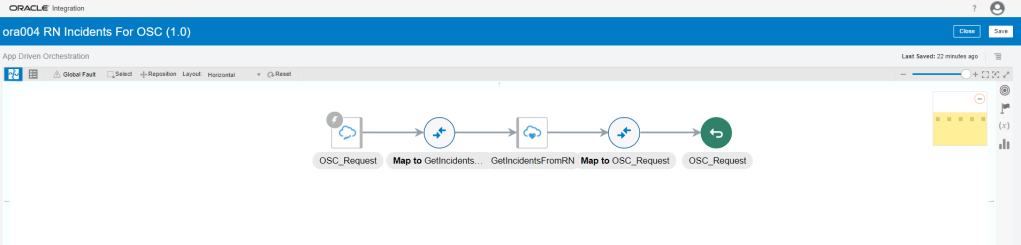
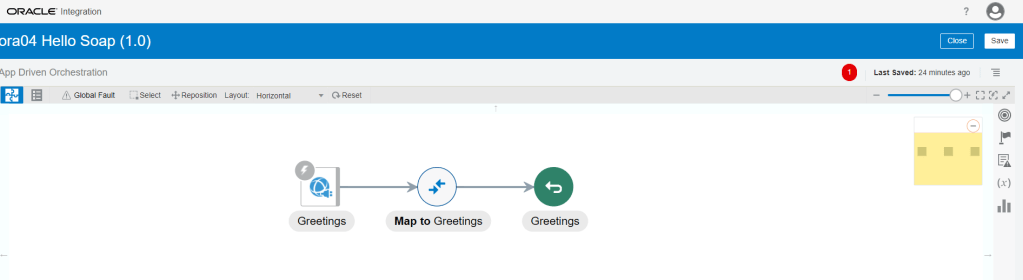
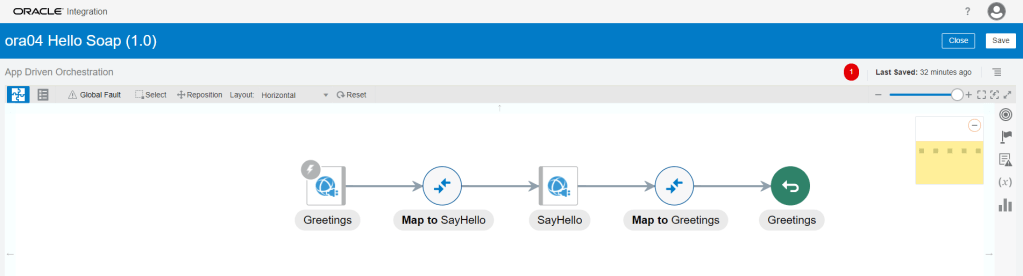
- Integration should look like below.

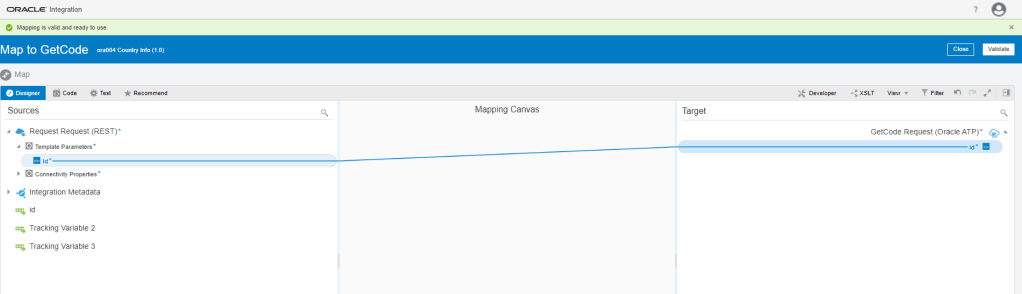
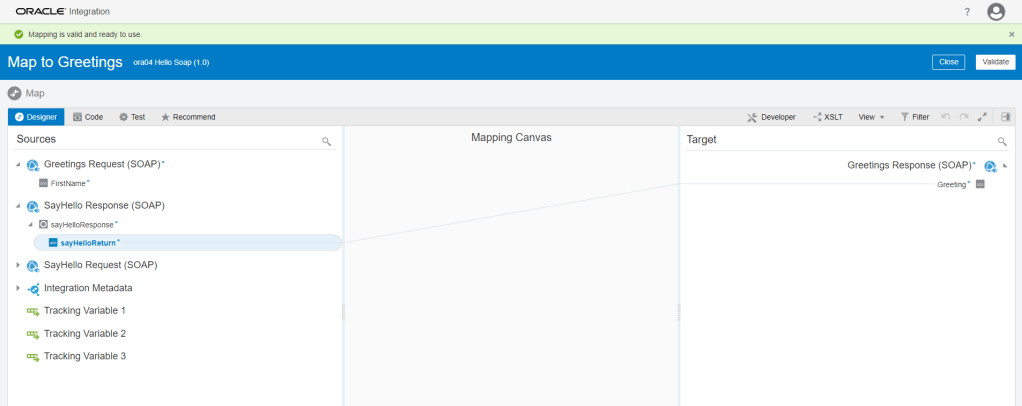
- Click on Icon in center “Click Below to Create Map) to reach to Mapper screen.

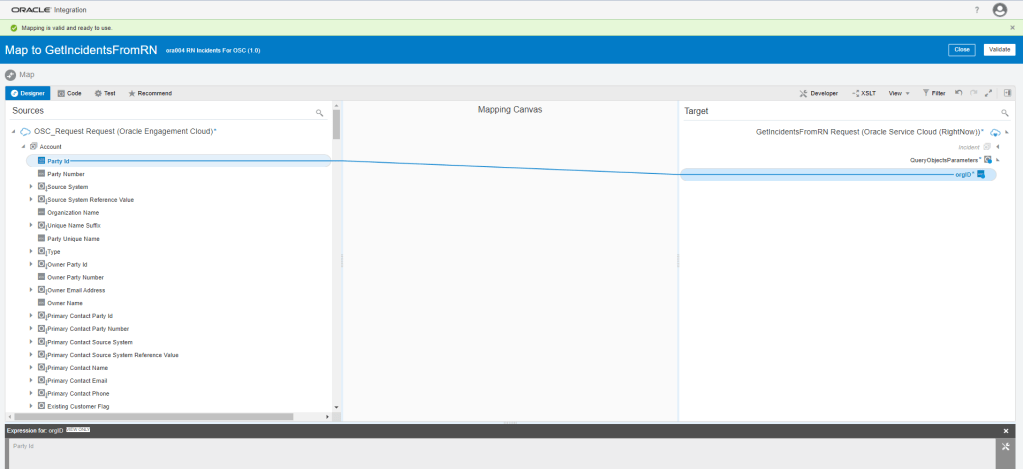
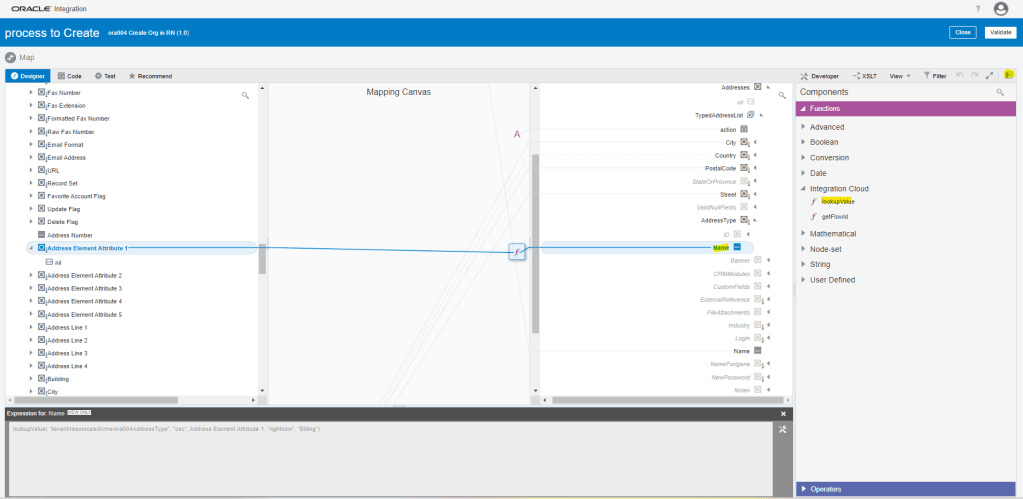
- Create below Mapping using Drag and Drop.


- Steps to add LookupValue created in Step1 to one of the field
- Click on Toggle pane at extreme right corner, Functions tab will appear.
- Under Functions, select lookupvalue and drop on Addresstype-> Name.
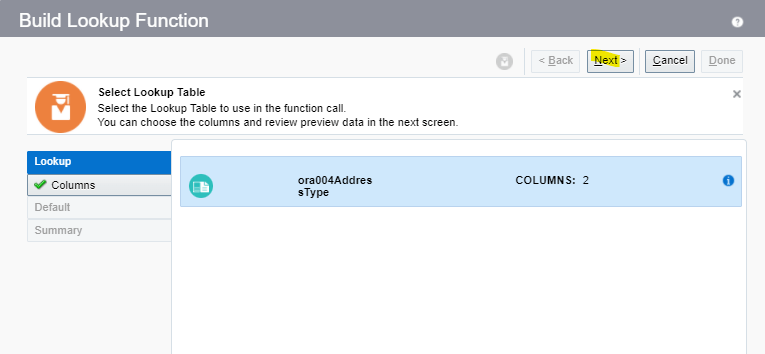
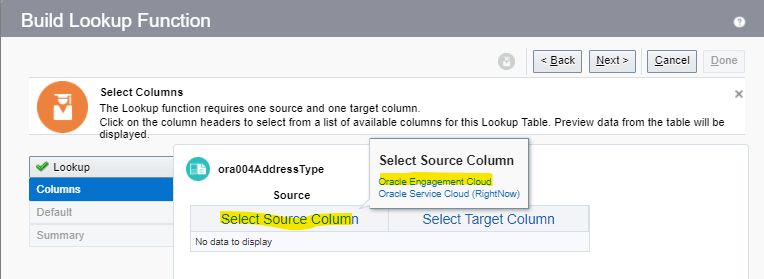
- Below Lookup Function screen appears. Select the Lookup which was created in Step1 and click on Next.
- Click on Select Source Column. From popup screen of Select Source Column, select Oracle Engagement Cloud. This will populate the Source Value “1” and “2” created in Step1.
- Repeat same steps for Target column and select Oracle Service Cloud(RightNow). This will populate the value “Billing” and “Shipping” created in Step1.
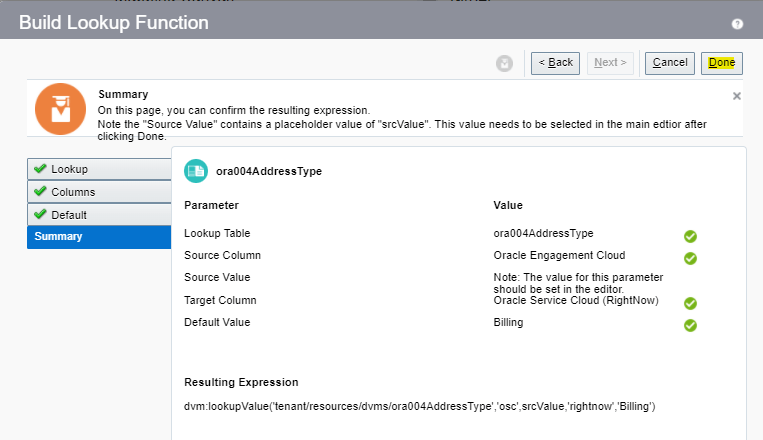
- This screen shows the mapping between source and Target. Click Next.

- For Default, enter the value = “Billing”. This will be used in case no value mapping exist for Addresstype.
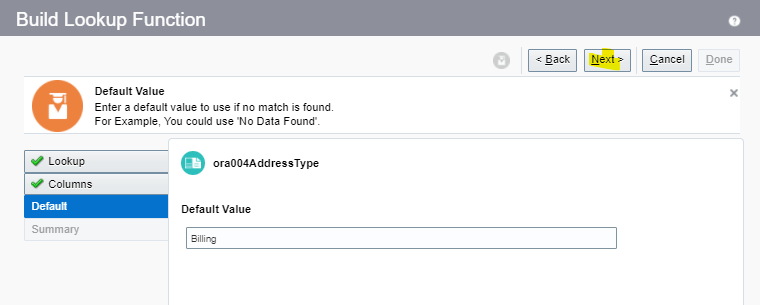
- On Summary page, click on Done.
- Click on AddressElementAttribute1 and right click to see Node Info. It will show the complete path of the field.

- Click on NodeInfo to see the details.
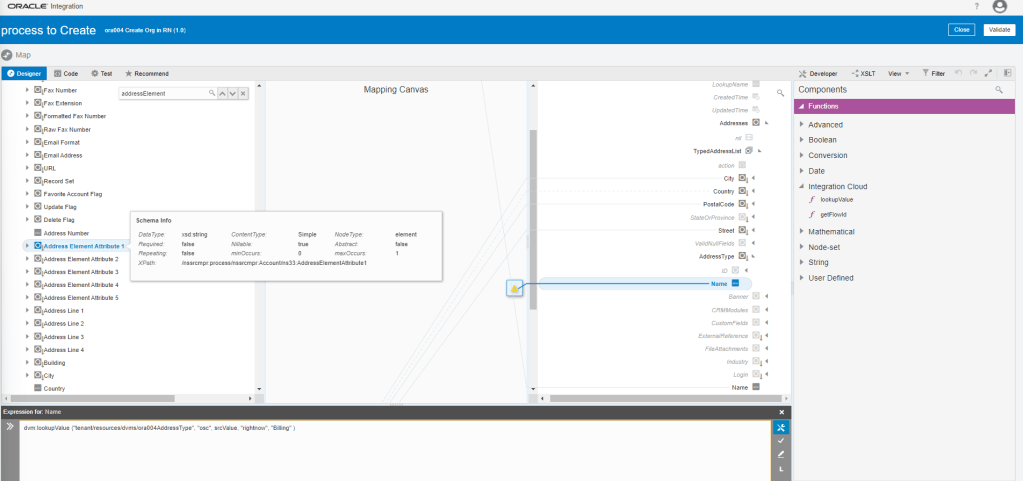
- Click on Function Name and in expression below and erase the value “srcvalue”.
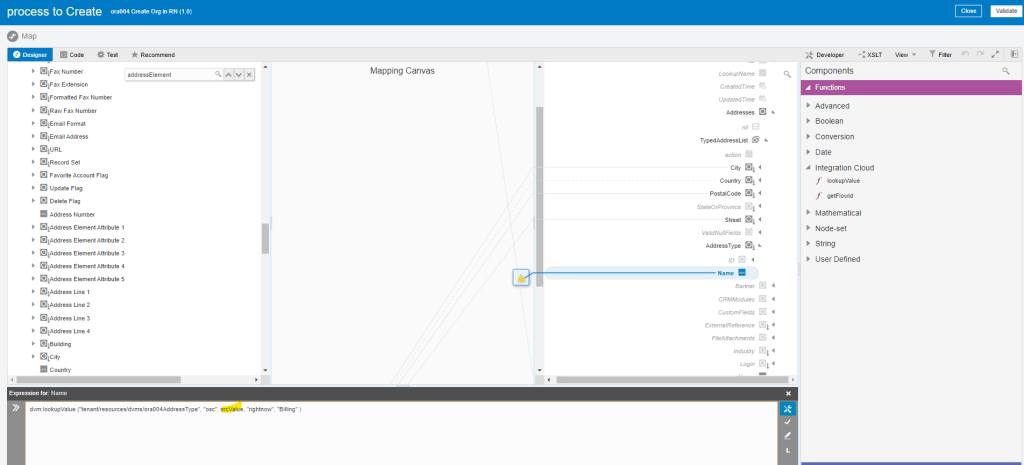
- Drag and drop from Address ElementAddress1 at place of srcvalue which was erased at previous step.
- So now we build a connection between Address ElementSrcValue1 to Name. Click on tick mark in the bucket.
- It ties AddressElementAttribute1 as a value to the function, as a third parameter, which finally gets mapped to Name.

- Click on Validate and Save.
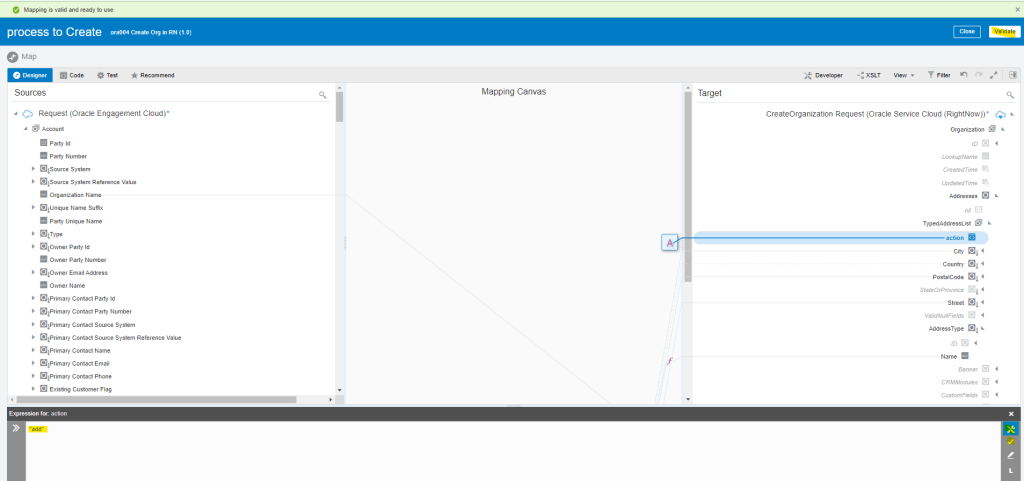
- Right click on Action field and select Create Target Node.

- Click on Edit button, enter text “add”, and click on tick button and Validate
- Add Tracking ID for the Integration

- Add Tracking id OrganizationName
- Activate the Integration

Step 4: Test the Integration
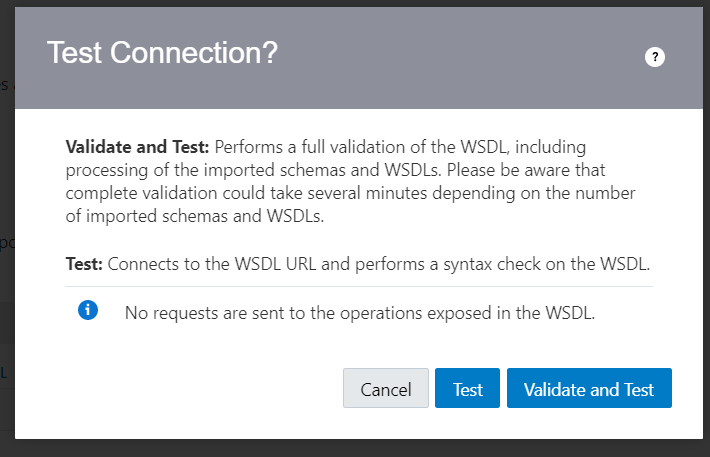
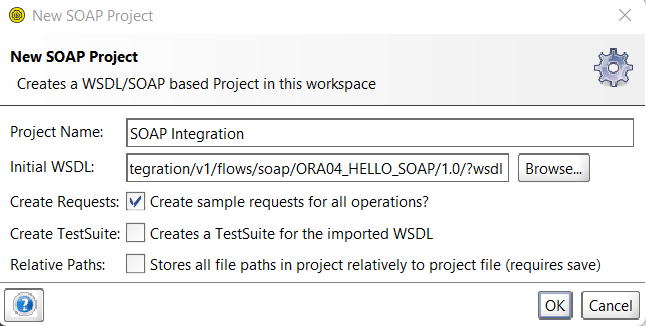
- We can test Integration Using SOAP UI
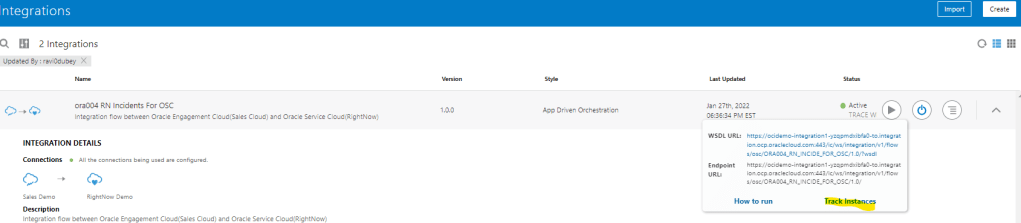
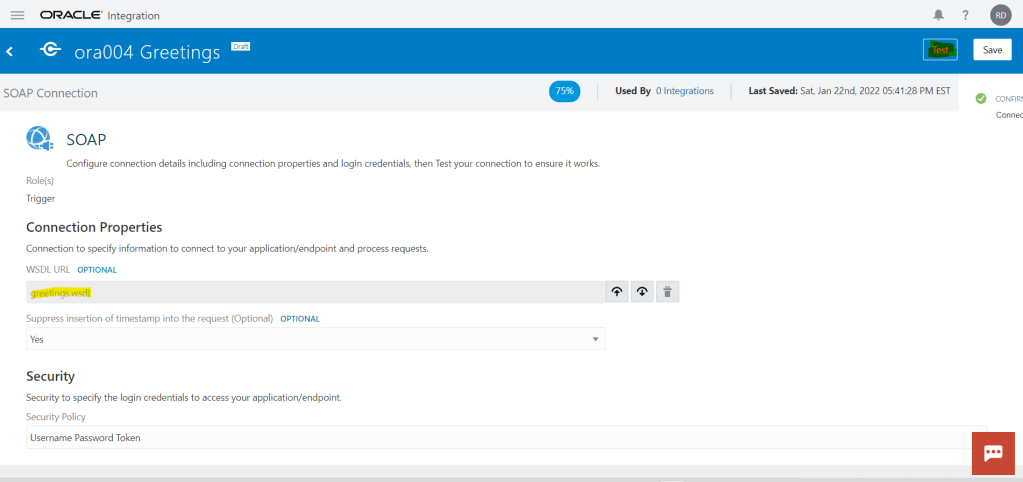
- Get URL from the OIC cloud by clicking on Play button and select WSDL URL.

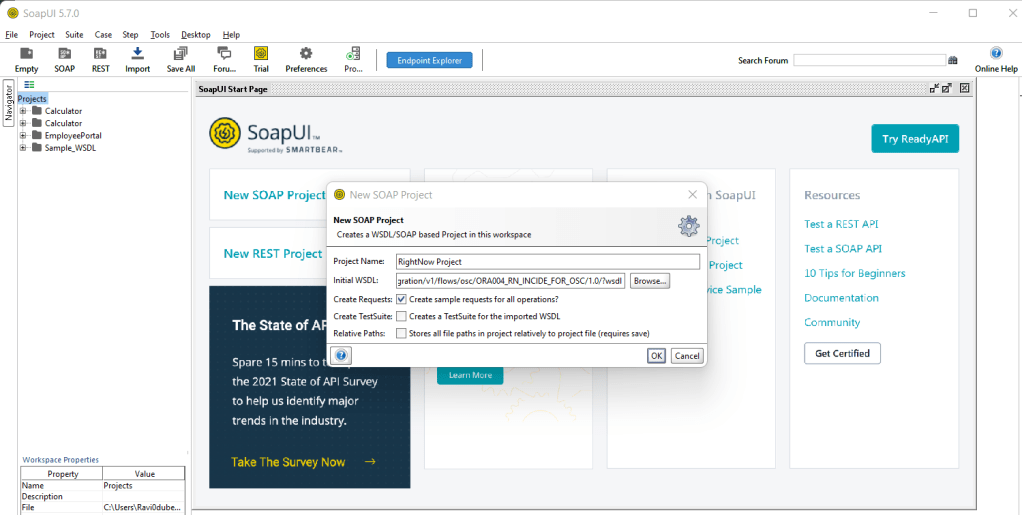
- In SOAP UI, enter Project Name and Paste the URL in Initial WSDL section.

- Once Project is added, Enter Firstname in Left pane which will be our input for testing..
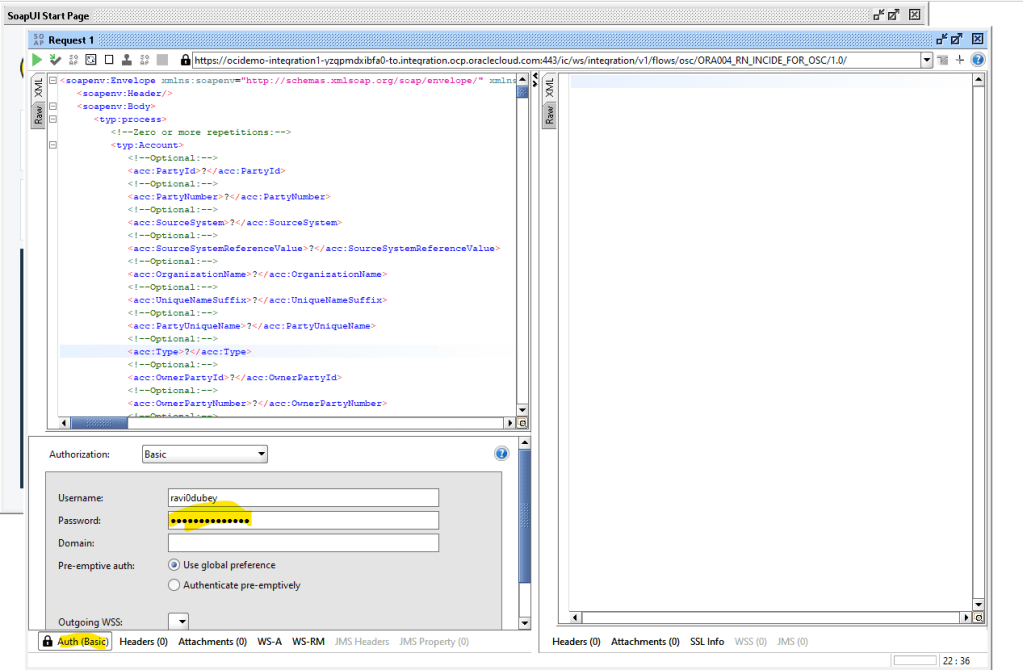
- On left Bottom, click on Auth and select Basic.
- Enter Username and Password of OIC cloud.
- Once Username and Password is added, right click on Left pane.
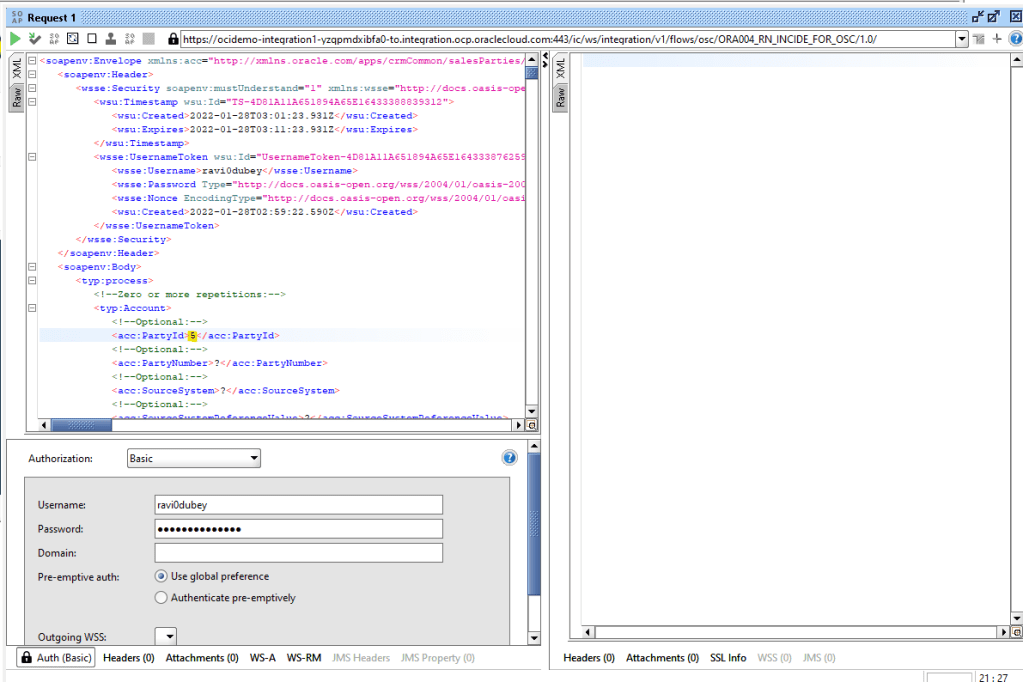
- From List select “Add WSS Username token”, then select PasswordText from the dropdown list.
- Click on OK.

- From List select “Add WS-Timestamp”, then change the timestamp from 60 to 600.
- Click on OK.

- Enter Below Value
- PartyId = “101”
- OrganizationName = “Demo Org11 ora004”
- AddressElementAttribute1 = “2”
- AddressLine1 = “101 Main Street”
- City = “Tampa”
- Country = “US”
- Postal Code = “33626”

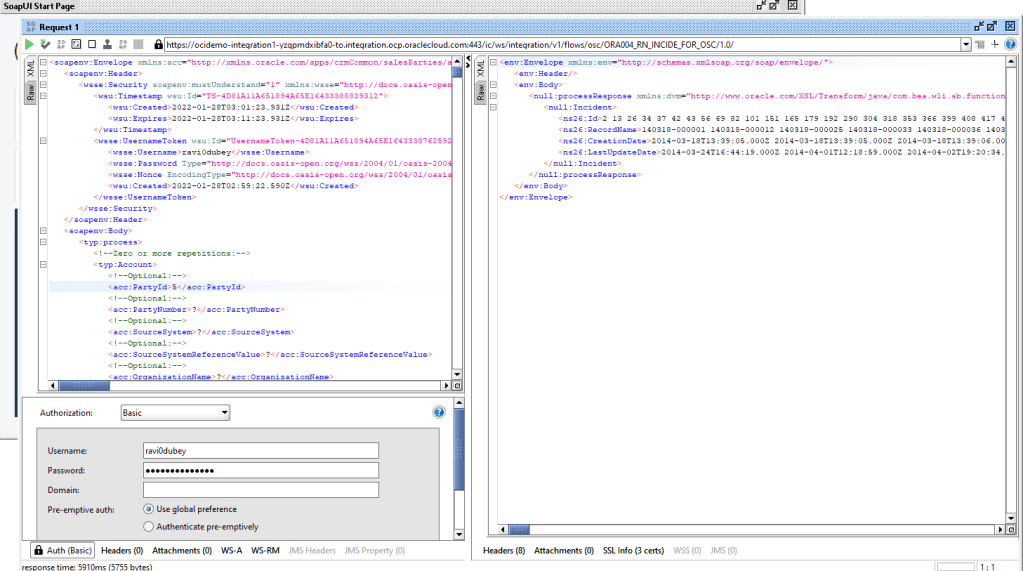
- Click on Green Button to run, XML will process correct.

Step 4.1 : Monitor the Integration
- We can either go through Monitoring -> Integration -> Tracking
- OR
- Go to Integrations -> Integration and select the Integration. Click on Play Button and click on Track Instances.

- Either way we will reach Integrations -> Tracking screen where it will show all instances of OIC Integration run.
- Under status column it will show status of each run instance.
- An eye will appear on each, on clicking it we will see the activity stream for the run.

- Track Subscribe to OIC instance.

- Verifying Publisher Run